How do I edit unpaid invoices?
It is always best to make changes to invoices when they are in the Queued or Saved Temporarily status because the parent has not been notified of the invoice yet. If you need to make changes to an invoice that is in the Unpaid status, please follow the steps below for the needed change.
Add a credit line item:
You can add a credit line item to waive a late fee or apply a last-minute discount.
- Find the desired invoice
- Hover over the gear icon
- Click the edit (pencil) icon
- Click the "Add" dropdown
- Click "credit line item"
- Enter a description, the amount, and the accounting category
- Click "Save"
Step-by-Step
1. The first step is to open Curacubby and click Invoices

2. Search for the desired invoice. You can search by parent name, student name, invoice number.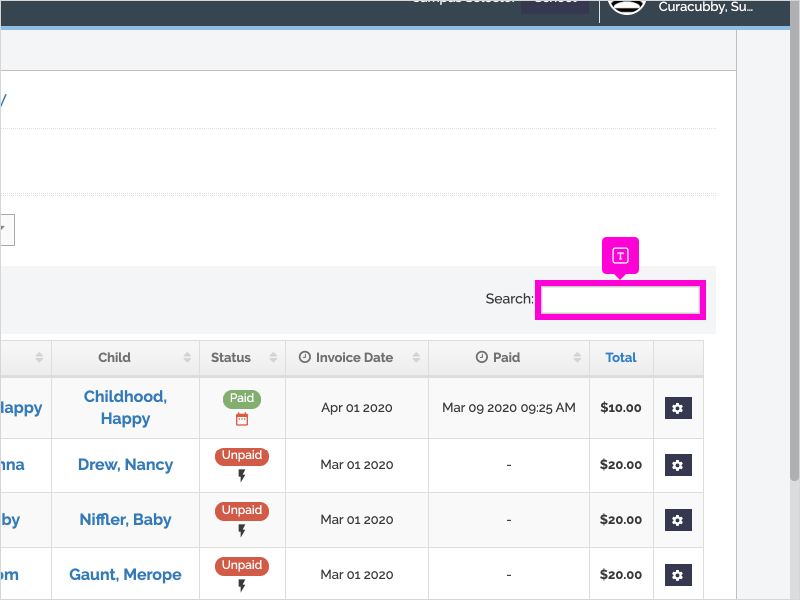
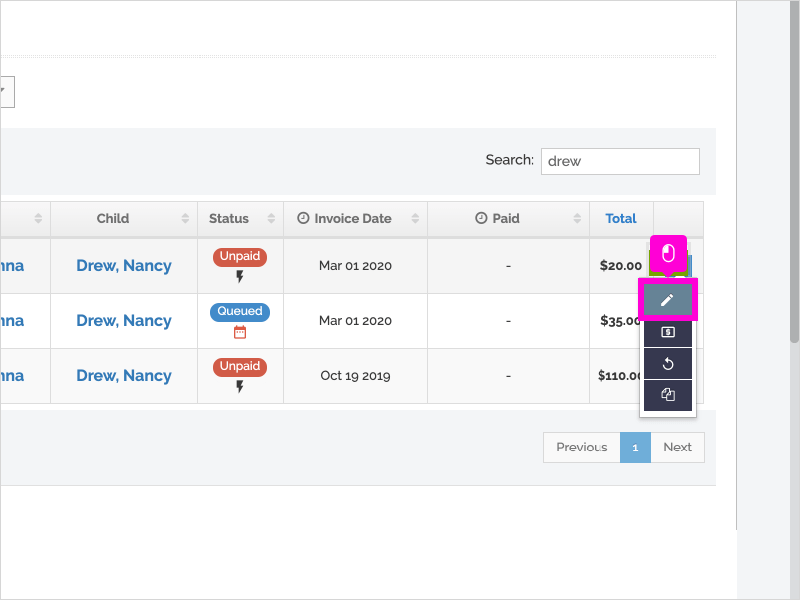
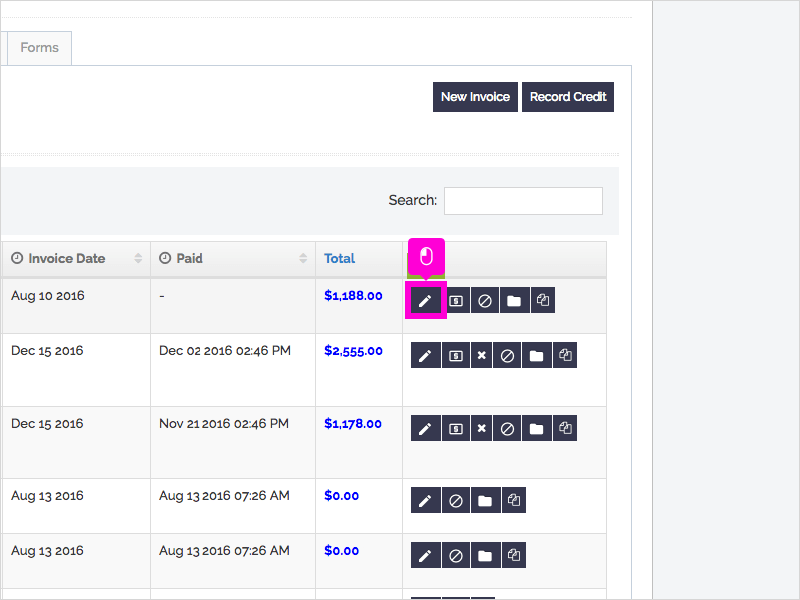
3. With your mouse, hover over the gear icon.

4. Click Edit (the pencil icon)
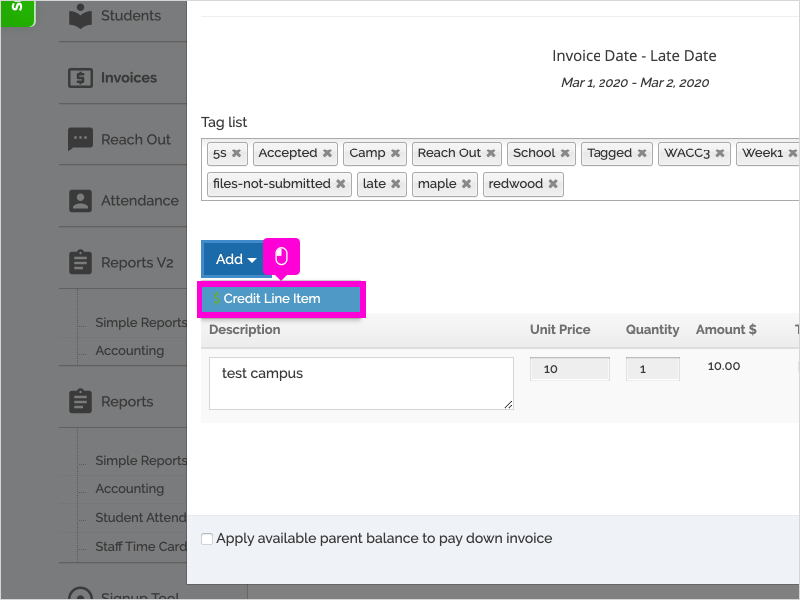
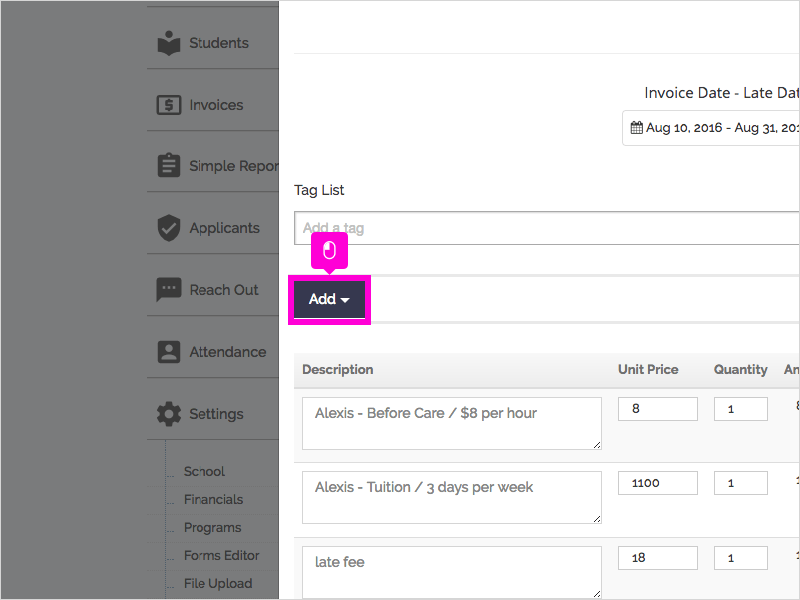
5. Click Add
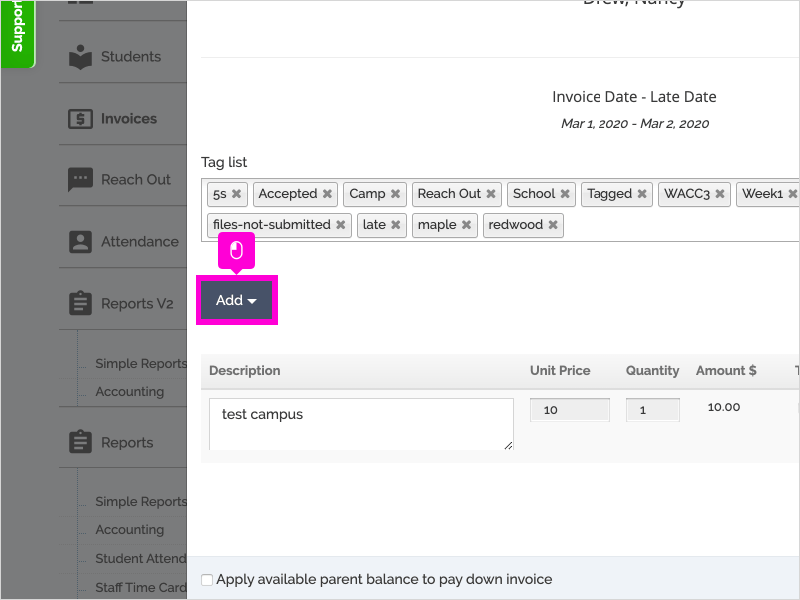
6. Click Credit Line Item
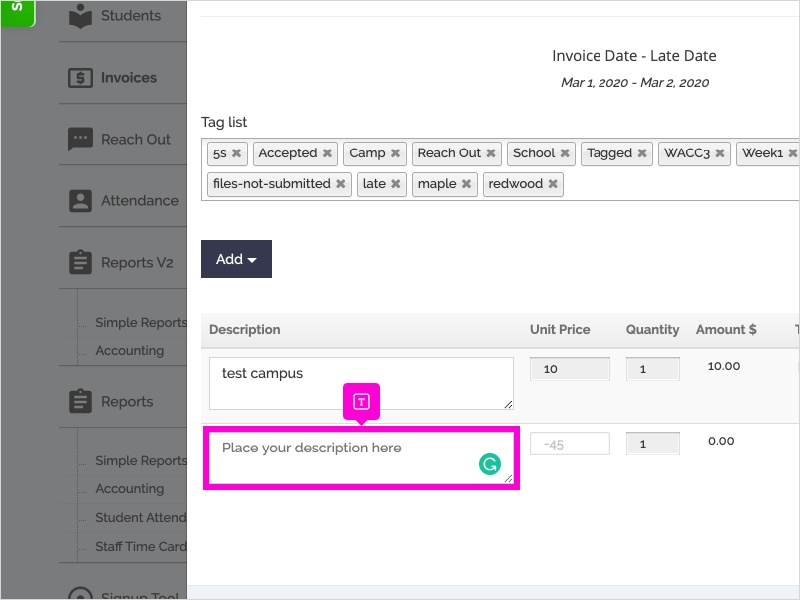
7. Type in your description
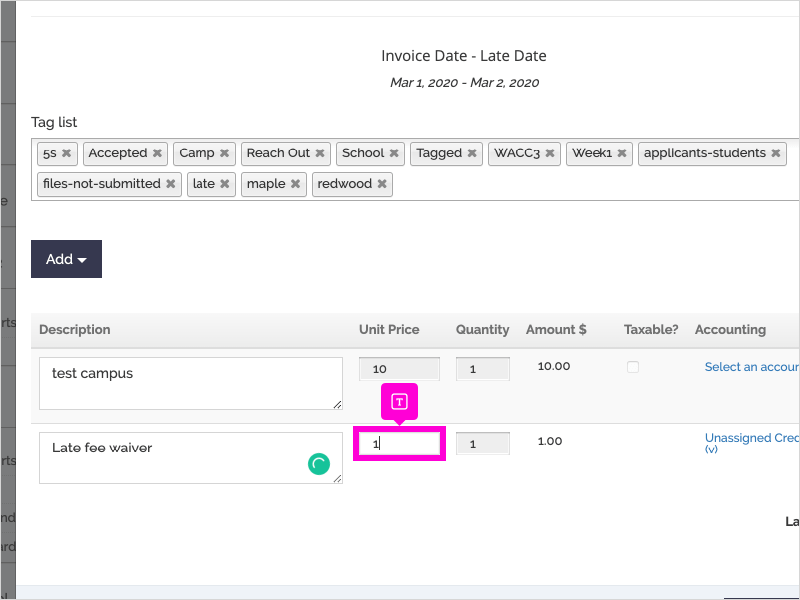
8. Type the Unit Cost
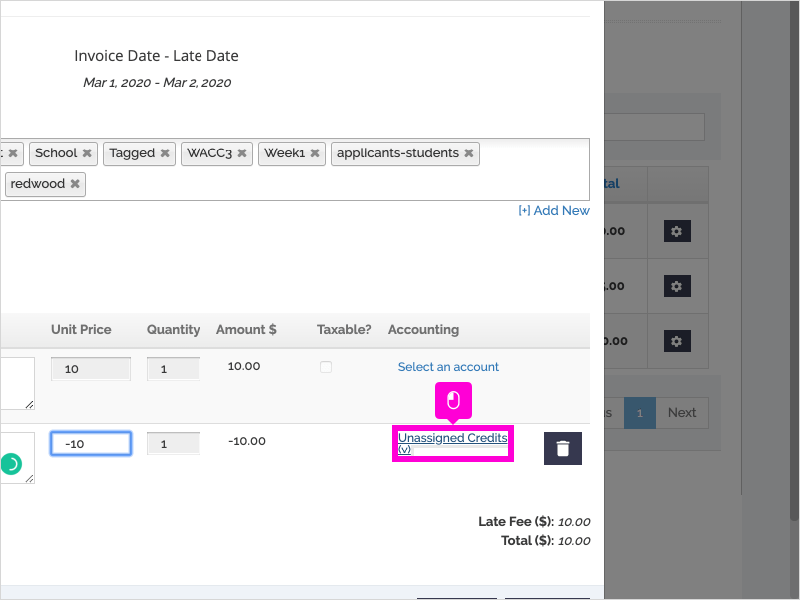
9. Click Unassigned Credits (v) to select an appropriate account category
10. Click the checkbox in the account category to wish to select
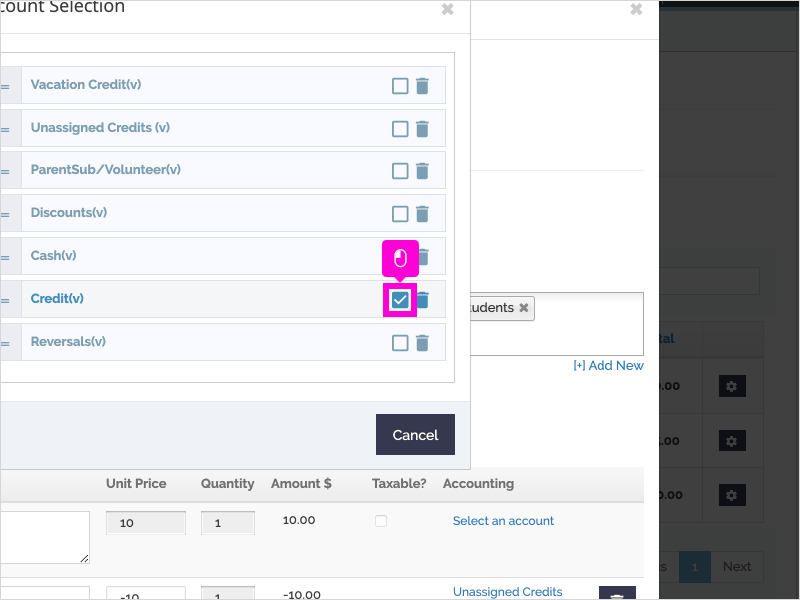
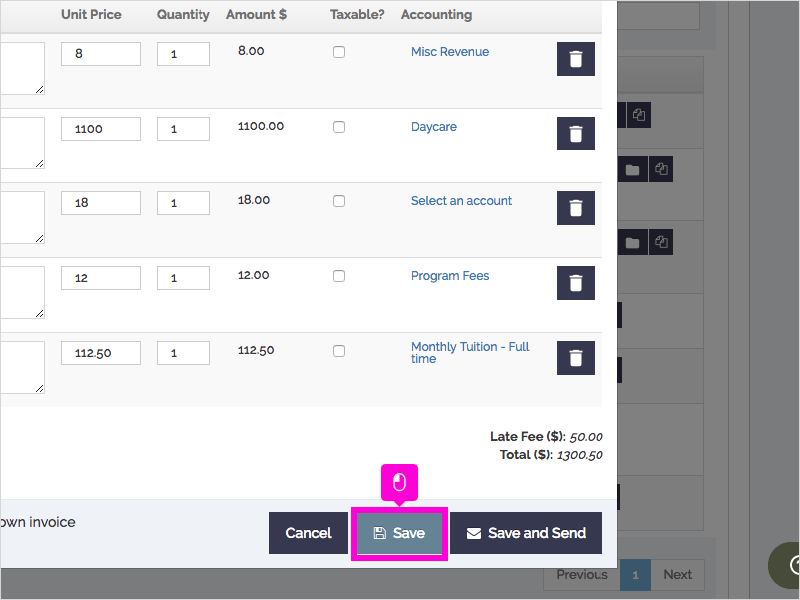
11. Scroll down and click Save

12. Notice that your credit is reflected in the amount due.

13. That's it. You're done.

Here's an interactive tutorial
https://www.iorad.com/player/50310/Adding-A-Credit-Line-Item-To-An-Invoice
Add a simple line item or change the unit price:
You cannot add a simple line item or change the unit price on an Unpaid invoice. If you need to add simple line items to unpaid invoices, please follow the steps below:
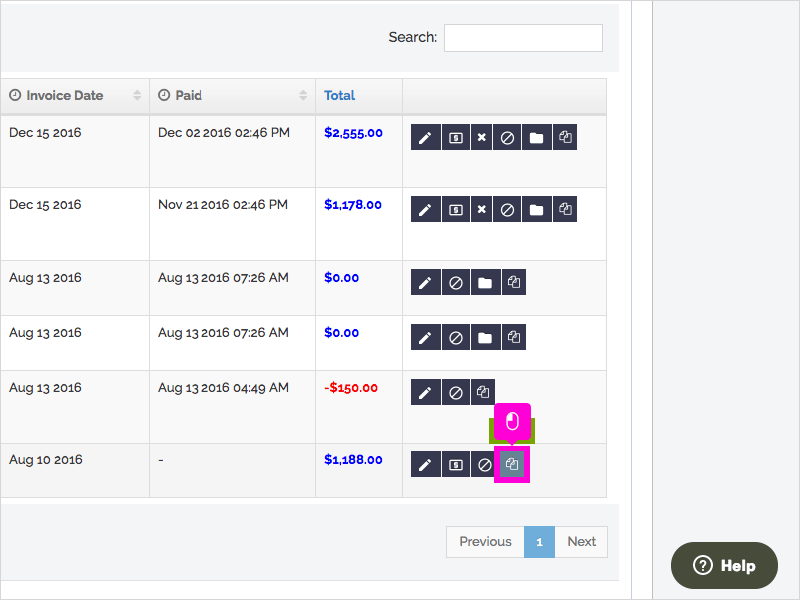
- Find the desired invoice
- Hover over the gear icon
- Click the "Copy" button (looks like two pieces of paper). This will create a new copy of the existing invoice that will automatically be put in the Saved Temporarily status.
- Make the desired changes/additions to the new Saved Temporarily invoice by clicking "Add"
- Click "Save"
- Hover over the gear icon of the original invoice
- Click "Cancel" or "Reverse"
Step-by-Step
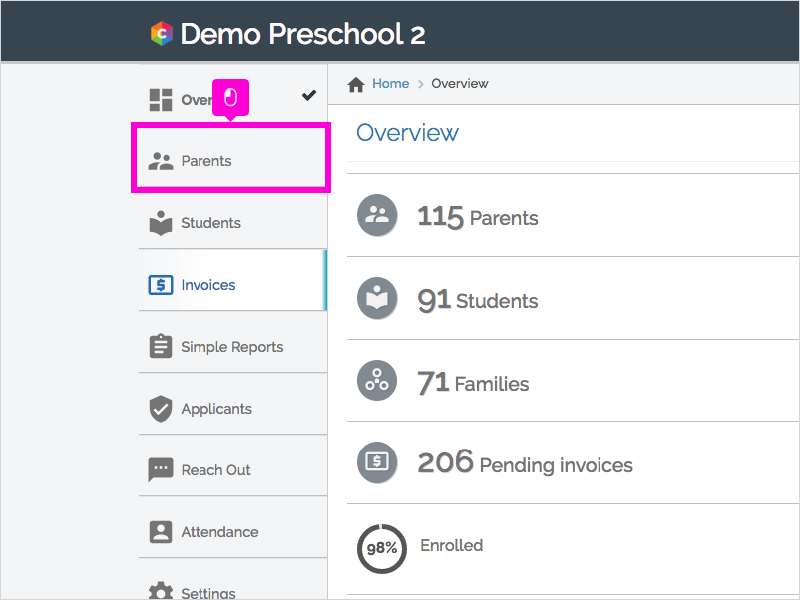
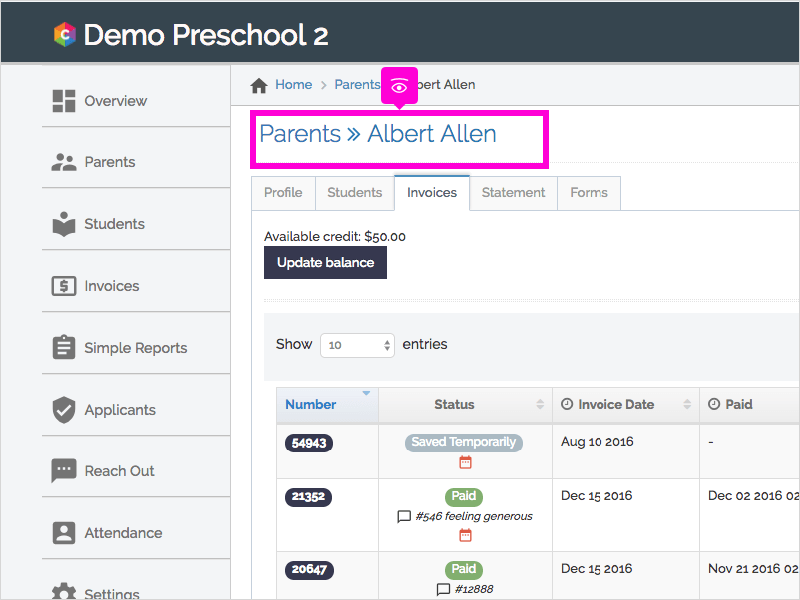
1. The first step is to open Curacubby and click Parents
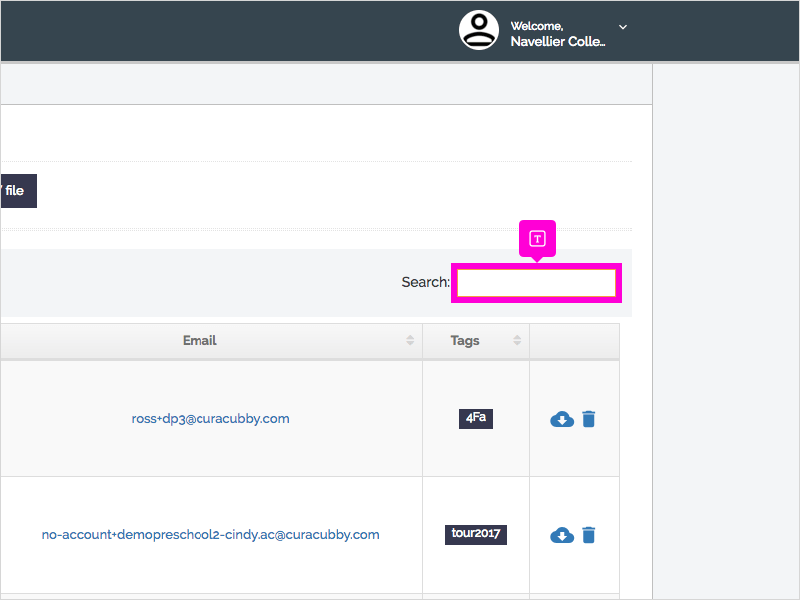
2. Type the parent name in the Search box
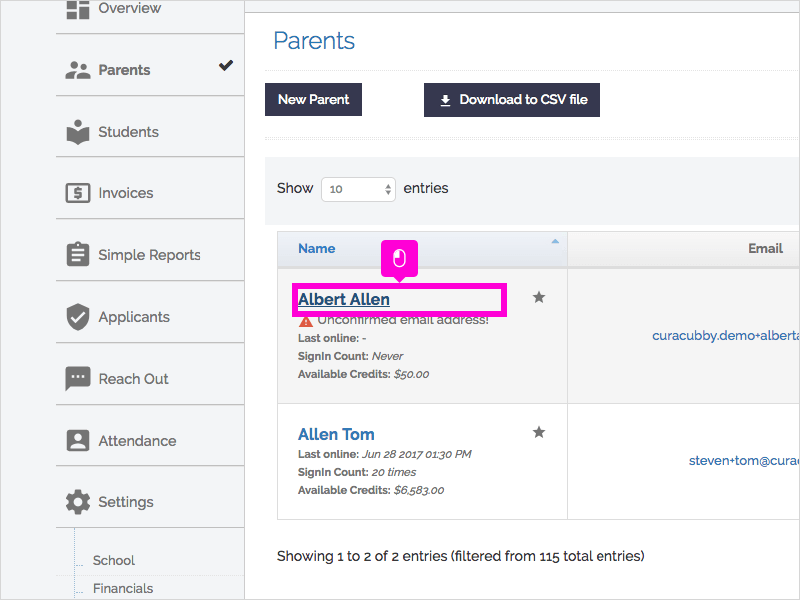
3. Click Parent Name link
4. Find the correct invoice and click the Copy button
5. Find the newly copied invoice and Click the Edit button
6. Click Add
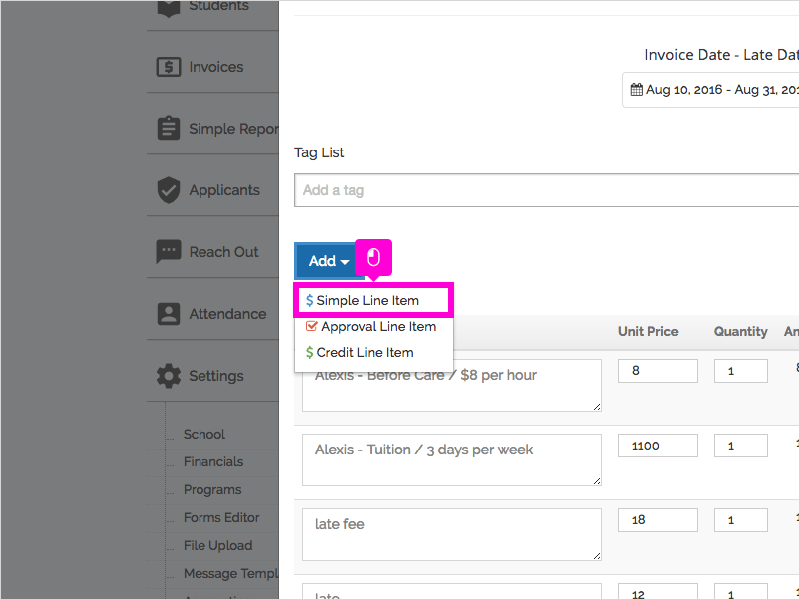
7. Select Simple Line Item to add a charge (debit)
8. Type your description in the Description box and Press Tab
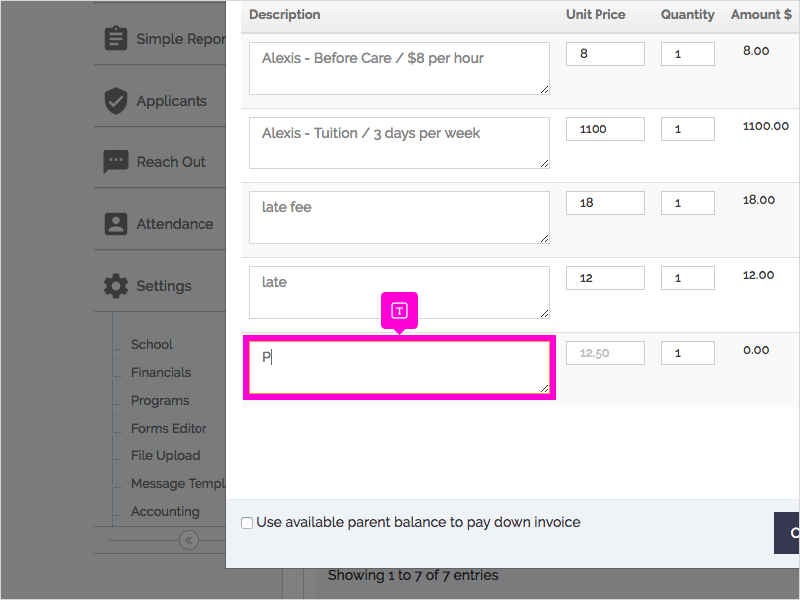
9. Type the amount in Unit Price
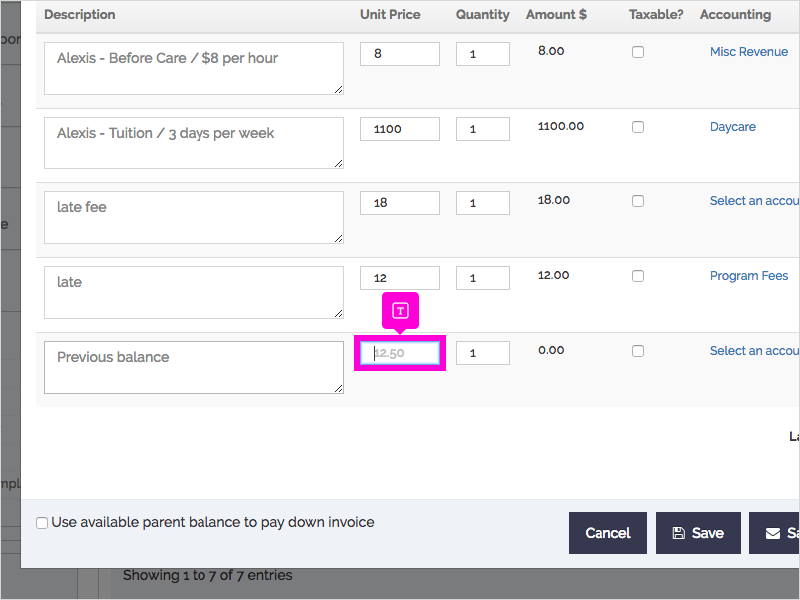
10. Click Select an account
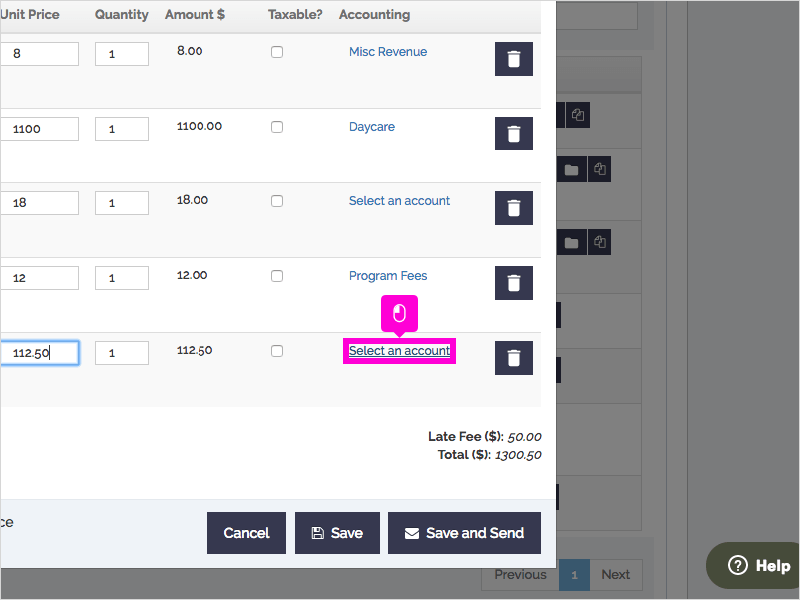
11. Click the correct account category
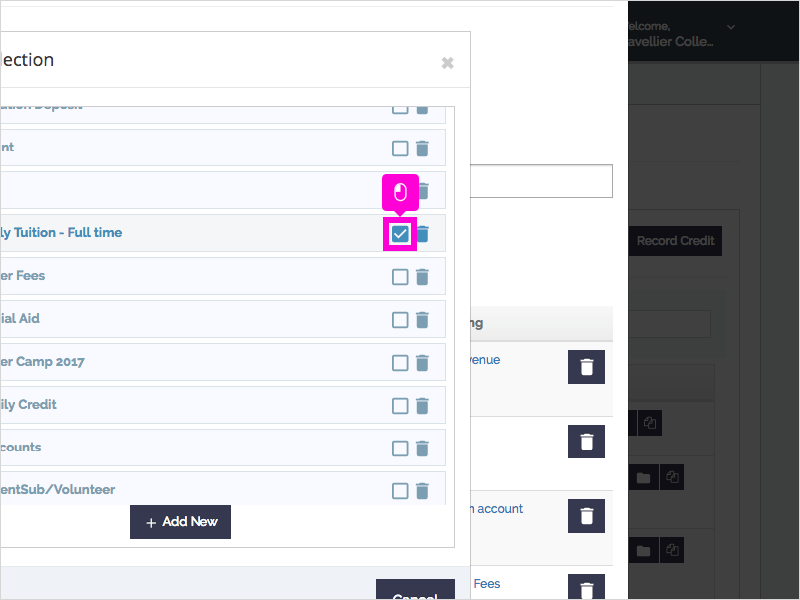
12. Click Save to delay sending the invoice until later OR click Save and Send to send immediately.
13. That's it. You're done.
Here's an interactive tutorial
https://www.iorad.com/player/75698/Copy-an-Invoice-and-Add-A-Simple-Line-Item
Update the due/late date:
Once an invoice is in the Unpaid status, you won't be able to change the due or late date. If you need to update the due or late date of an Unpaid invoice for any reason, you can follow the steps below:
- Find the desired invoice
- Hover over the gear icon
- Click the "Copy" button (looks like two pieces of paper). This will create a new copy of the existing invoice that will automatically be put in the Saved Temporarily status.
- Hover over the gear icon and click "Edit" on the new Saved Temporarily invoice
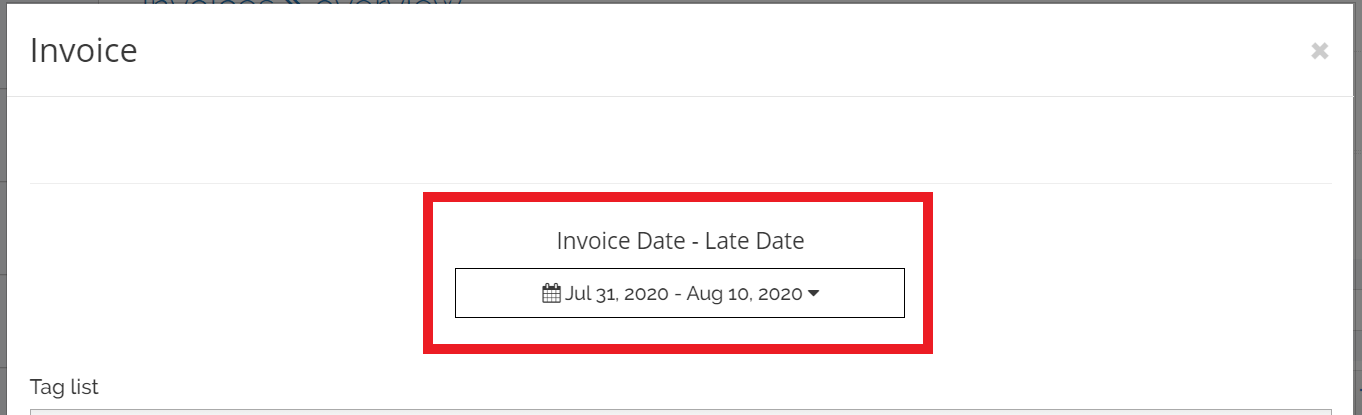
- Click on the "Invoice date - Late date" box
- Select the new due date/late date (Note: if you are only changing the late date, you will need to select the same due date and then the new late date)
- Click "Save and Send" to send the invoice out to the parent
- Hover over the gear icon of the original invoice
- Click "Cancel" or "Reverse"
Update an accounting category:
You will only need to update an accounting category if one is not automatically assigned or if it is assigned to the wrong one.
- Find the desired invoice
- Hover over the gear icon
- Click the edit (pencil) icon
- Update/change accounting categories
- Click "Save"