
This article provides an overview of tags, how to view them, and how to add or remove them.
Tags are used in Curacubby to identify or distinguish student and parent accounts and allow school administrators to easily identify pertinent information about students and parents at a glance. They also allow school administrators to build tag-based reports on the "Tag Reports" page. Tags are also important to send Reach Out messages to specific groups (i.e specific classrooms, staff, etc).
Certain tags are automatically applied to parent and student accounts based on certain conditions. The system tags include:
- Default or Main Campus (Indicates the student's campus. Students are automatically tagged with their campus name(s). You can rename the Default or Main Campus in your school's settings)
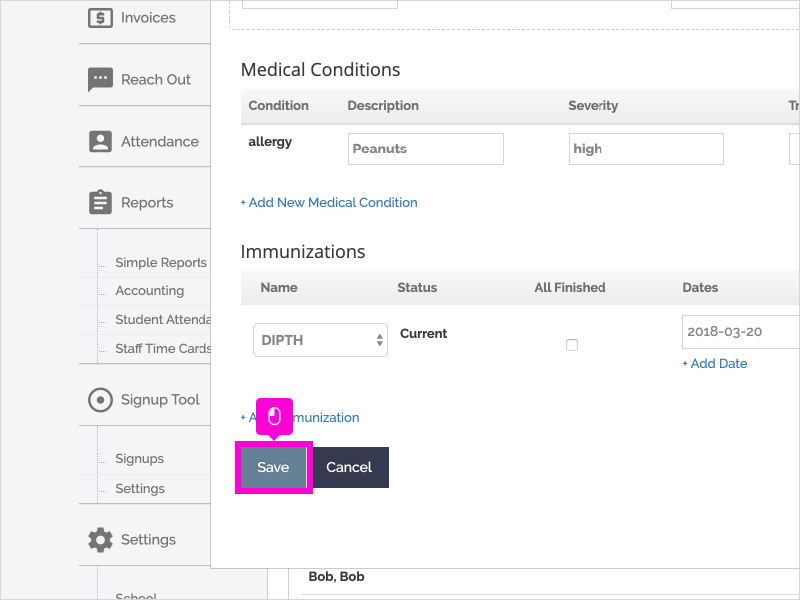
- condition-other/condition-allergy (Indicates that a student has a medical condition or allergy listed on their profile.)
- opt-in/opt-out (Indicates whether a parent is opted in or out of SMS messages)
- autopay (Indicates that a parent is enrolled in autopay)
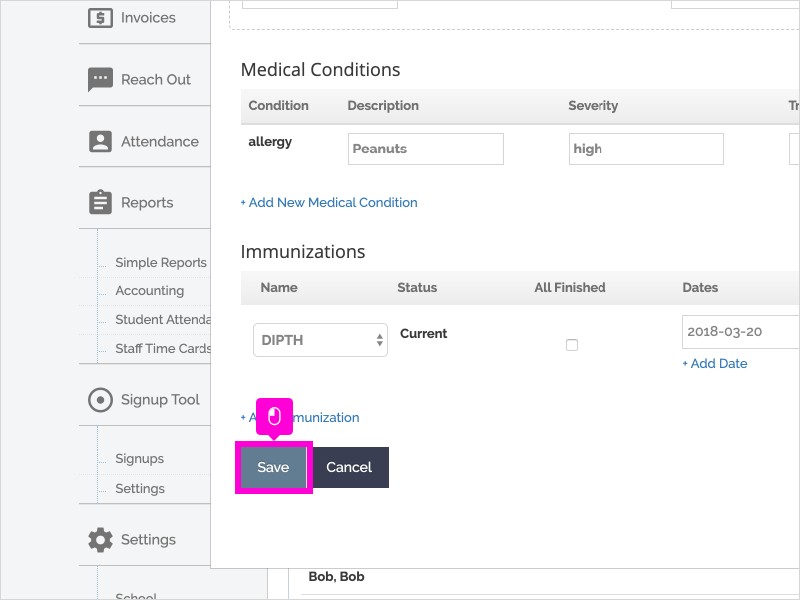
- due/current/complete (Indicates a student's immunization status based on the dates listed in the immunization section of their profile. Due means they are due for an immunization; current means they are up-to-date but will need a booster dose in the future; complete means they have all the doses required for that immunization)
- applicants-students/applicants-parents (Indicates that the parent and student have submitted signup)
- accepted (indicates the student was accepted from signups)
To view student/parent tags:
- Click the "Students" or "Parents" tab
- Find the desired student/parent and click their name
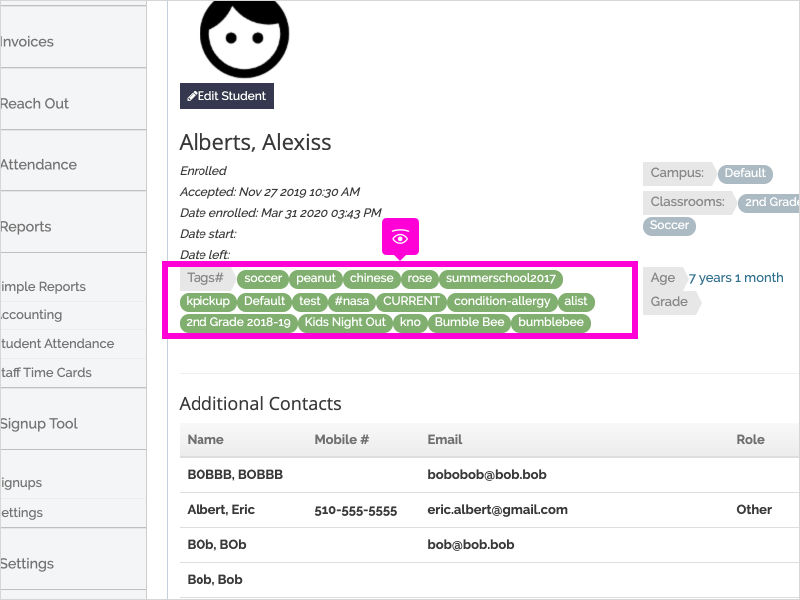
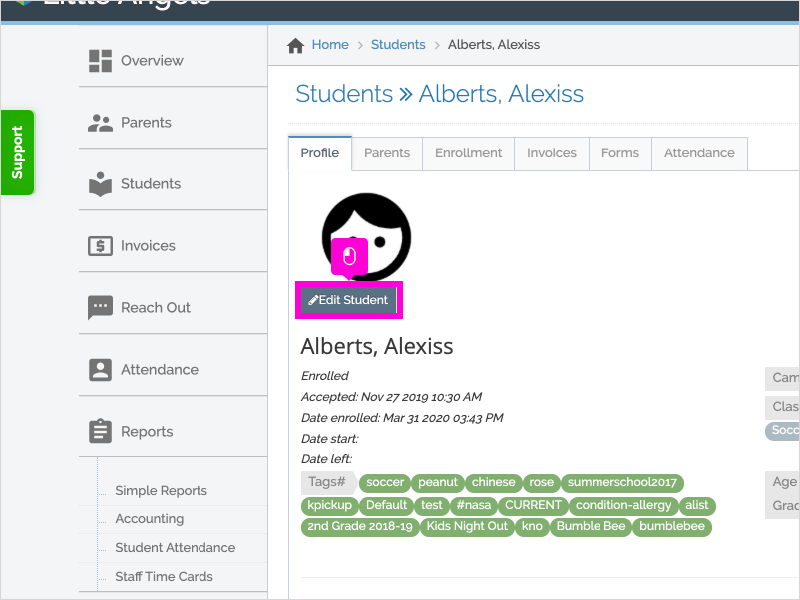
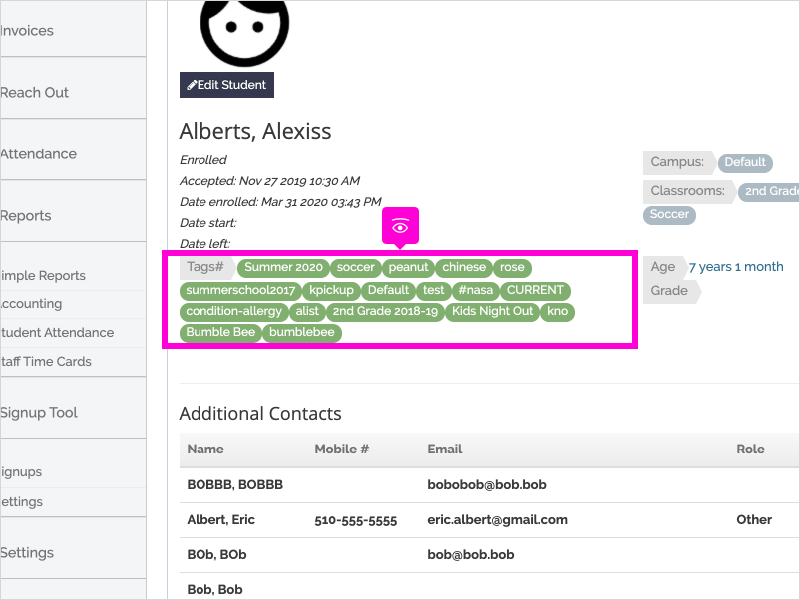
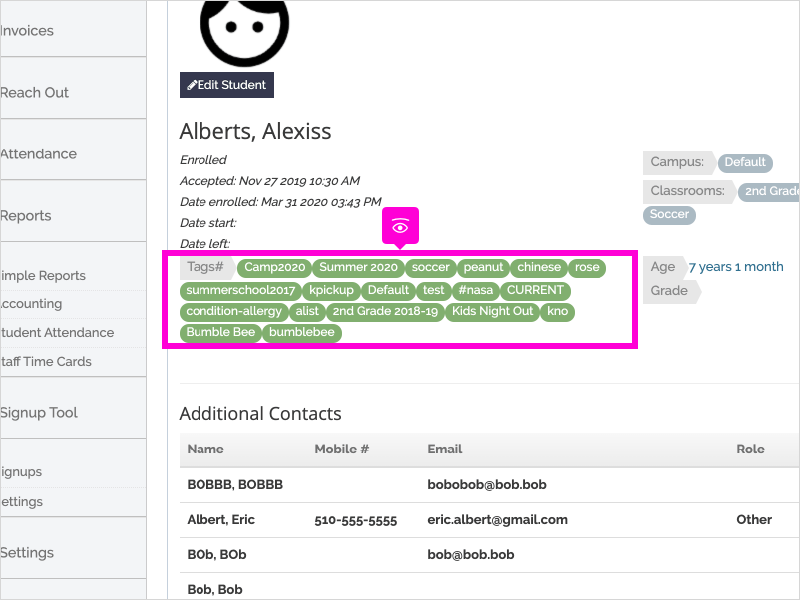
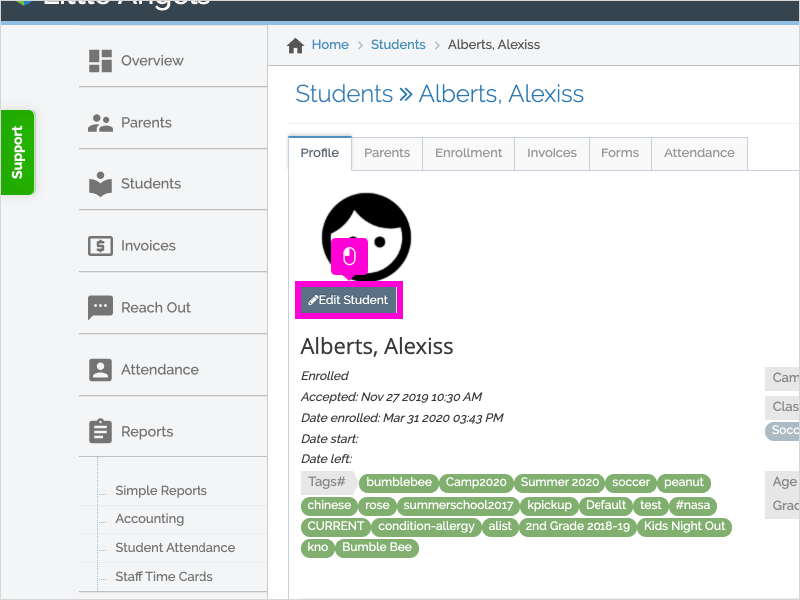
- Click the "Profile" tab
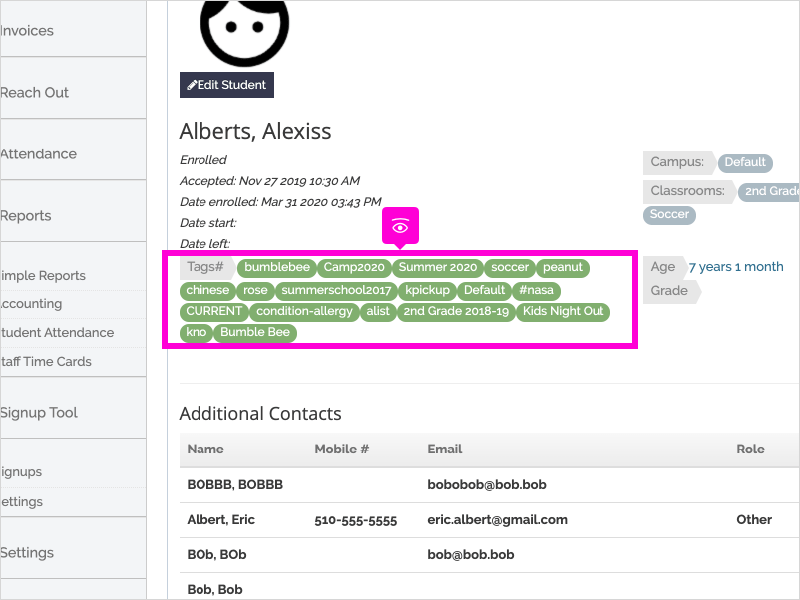
- View the current tags associated in the "Tags" section
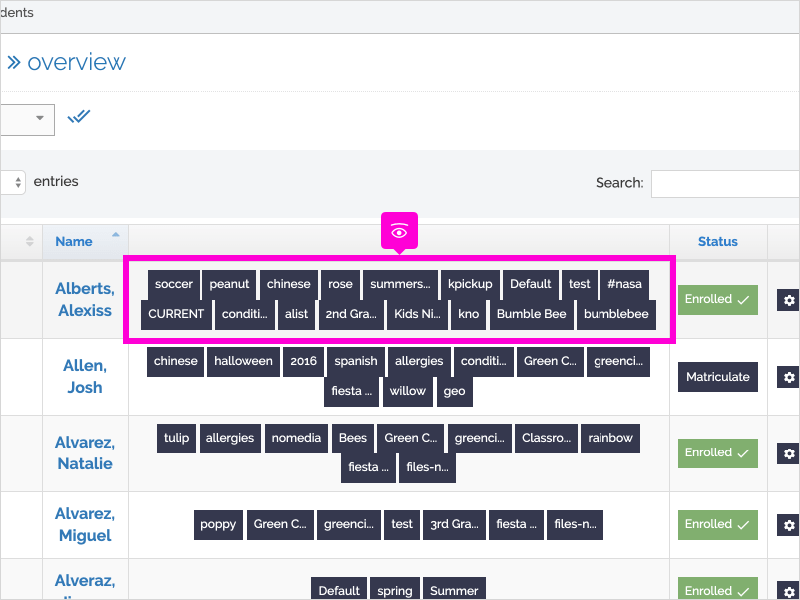
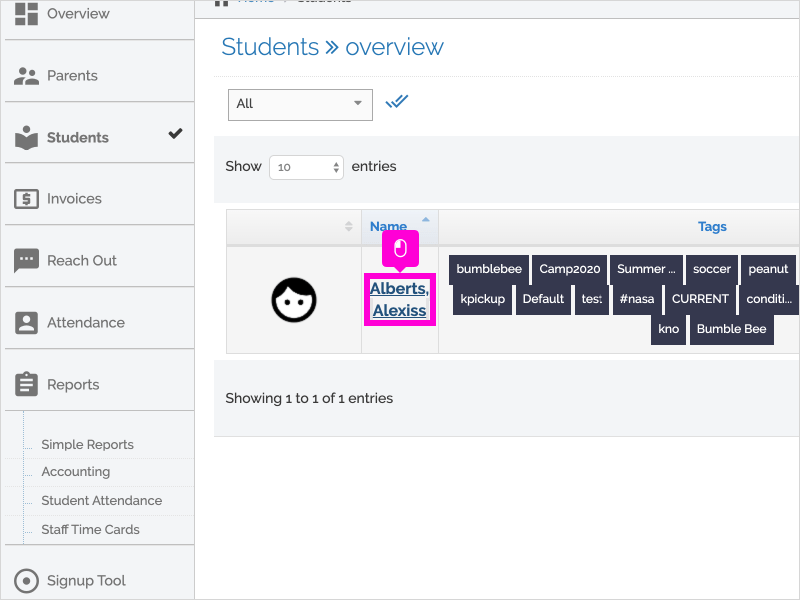
You can also view students'/parents' tags on the "Students" or "Parents" page next to their names under the "Tags" column.
Step-by-Step
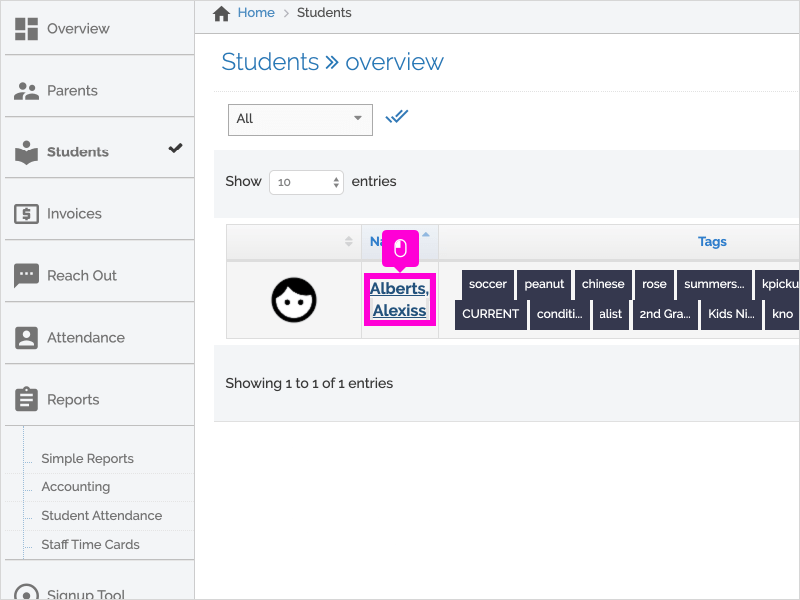
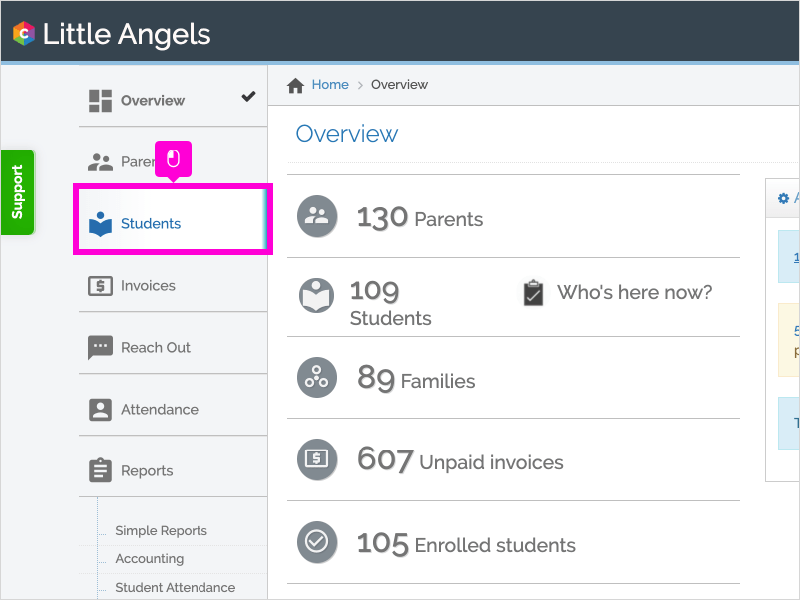
1. The first step is to open Curacubby and click Students

2. You can view a student's tags here
3. Click the Student's Name

4. Click Profile

5. You can also view a student's tags here.

6. That's it. You're done.
Here's an interactive tutorial
https://www.iorad.com/player/1657427/How-to-View-Tags
To add an existing tag to one student:
- Click the "Students" tab
- Find the desired student and click the student's name
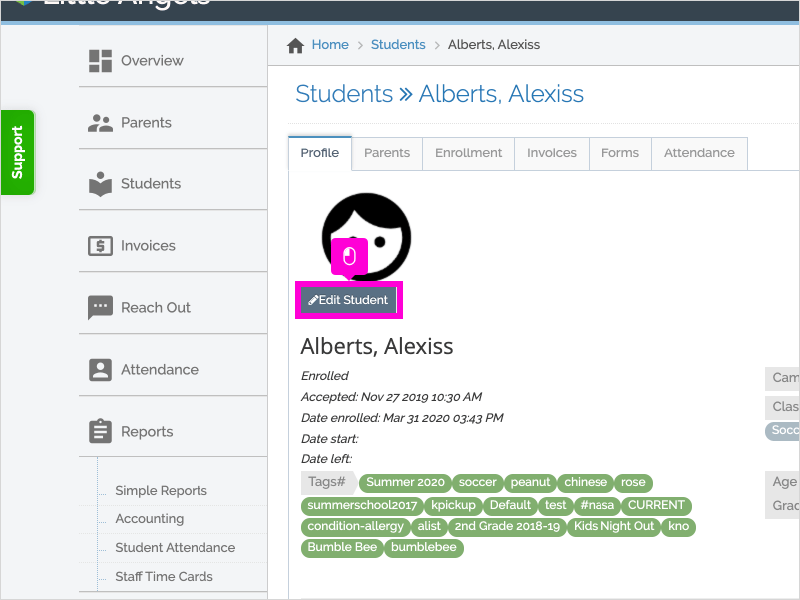
- Click the "Profile" tab
- Click "Edit Student"
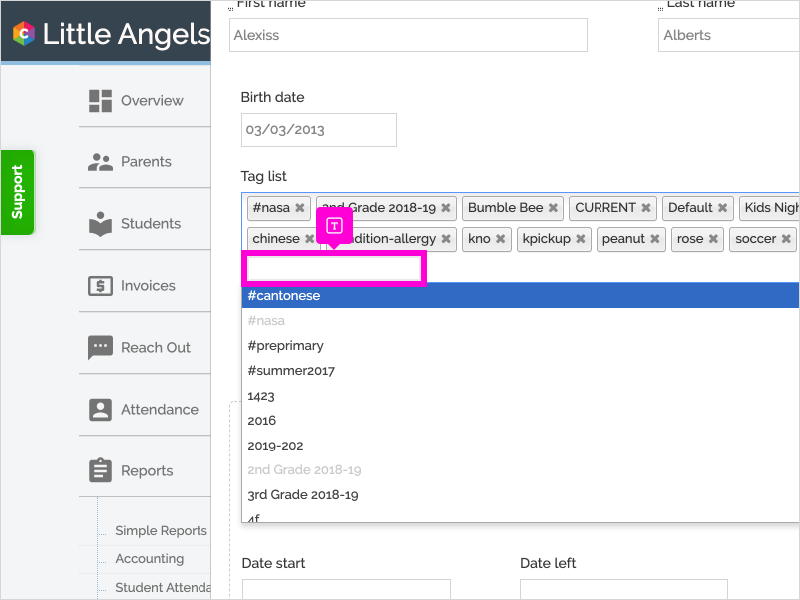
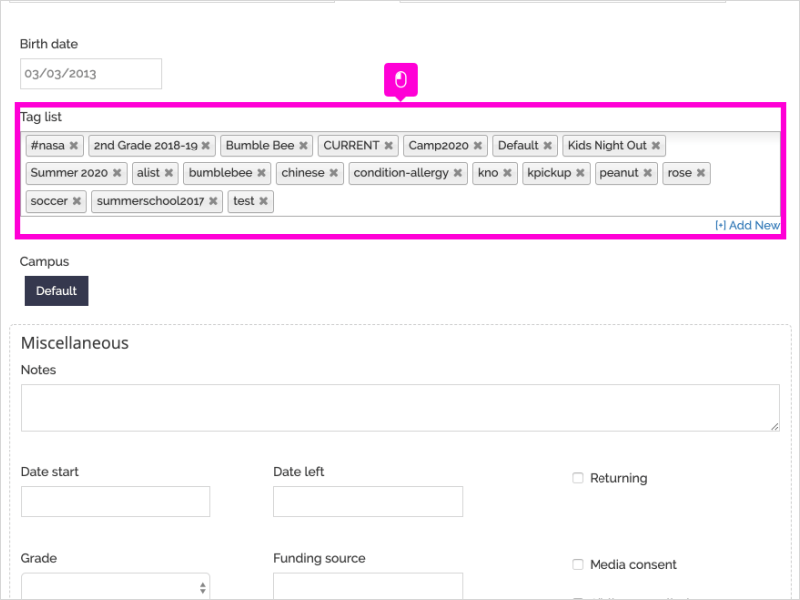
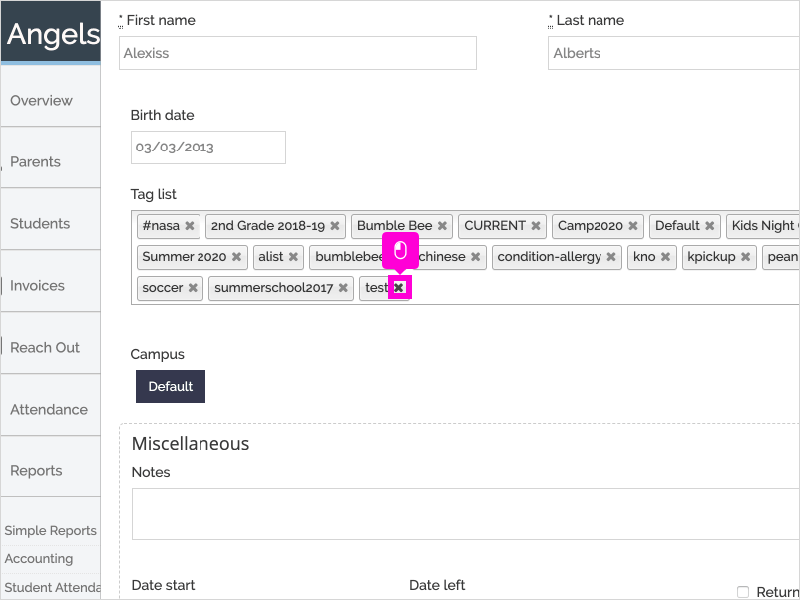
- Click in the Tag List field to populate the tag dropdown
- Find and select the desired existing tag (you may type a tag)
- Click the desired tag
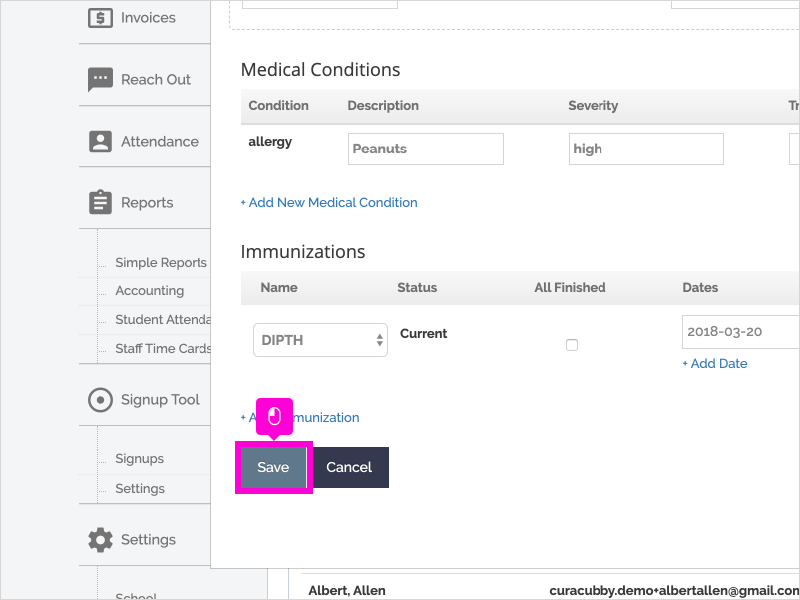
- Scroll down to the bottom of the student's profile and click Save
You can also follow the same steps to add a tag to a parent.
Note: You can add multiple tags to a student at one time
Step-by-Step
1. The first step is to open Curacubby and click Students

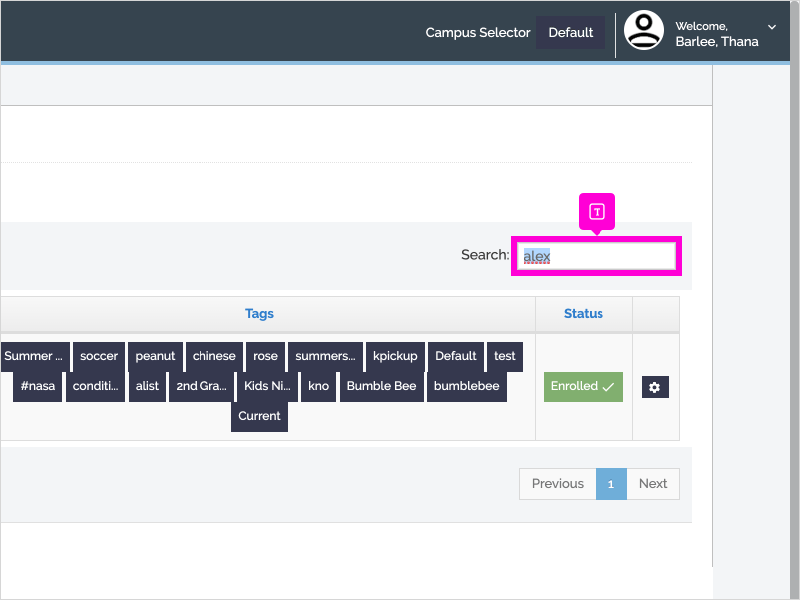
2. Search for a student
3. Click the Student's Name
4. Click Profile

5. Click Edit Student
6. Search for the appropriate tag
7. Select the appropriate tag.
You can add multiple tags at one time.

8. Confirm the tag(s) have been added
9. Scroll down and click Save
10. Check to confirm that the tag(s) are added.
That's it. You're done.
Here's an interactive tutorial
https://www.iorad.com/player/1657439/How-to-Add-an-Existing-Tag-to-a-Student
To add a new tag to one student:
- Click the "Students" tab
- Find the desired student and click the student's name
- Click the "Profile" tab
- Click "Edit Student"
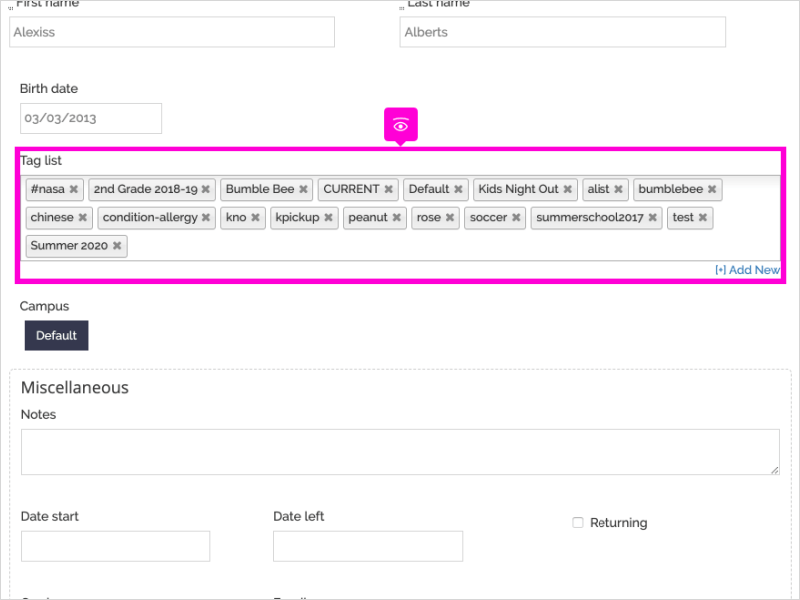
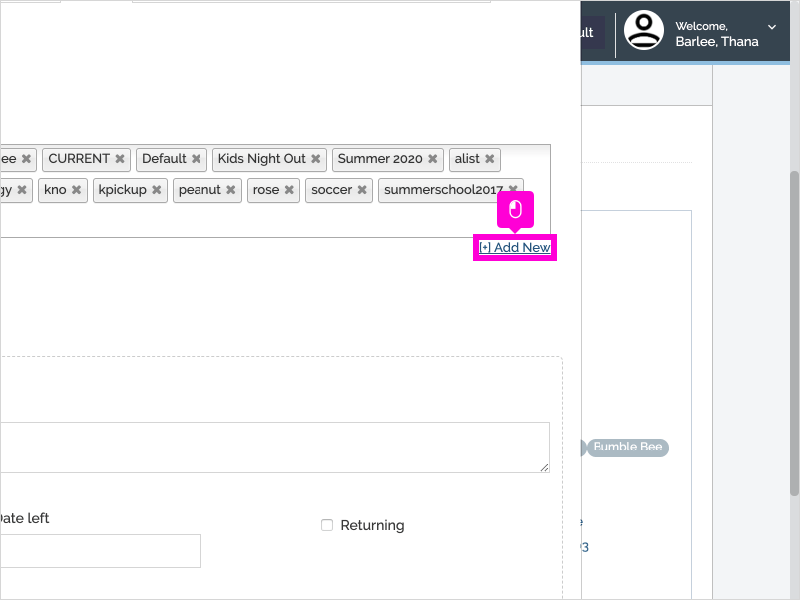
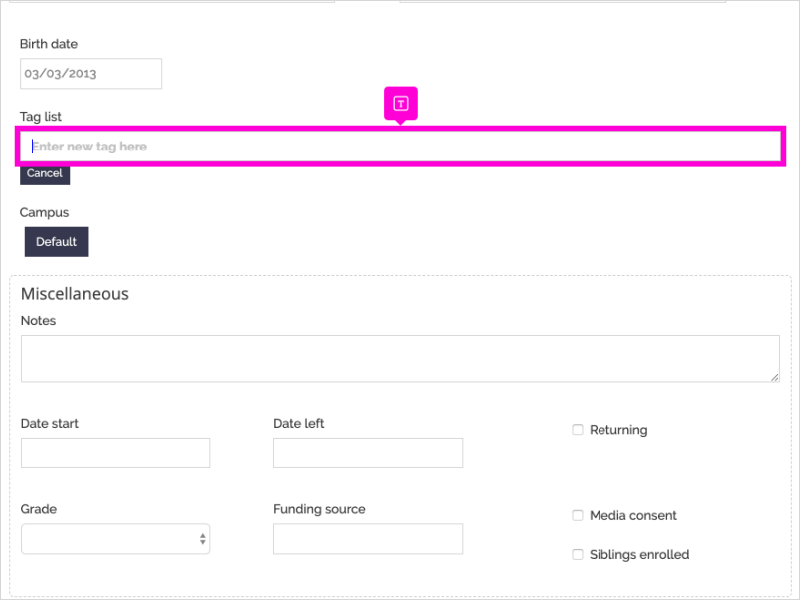
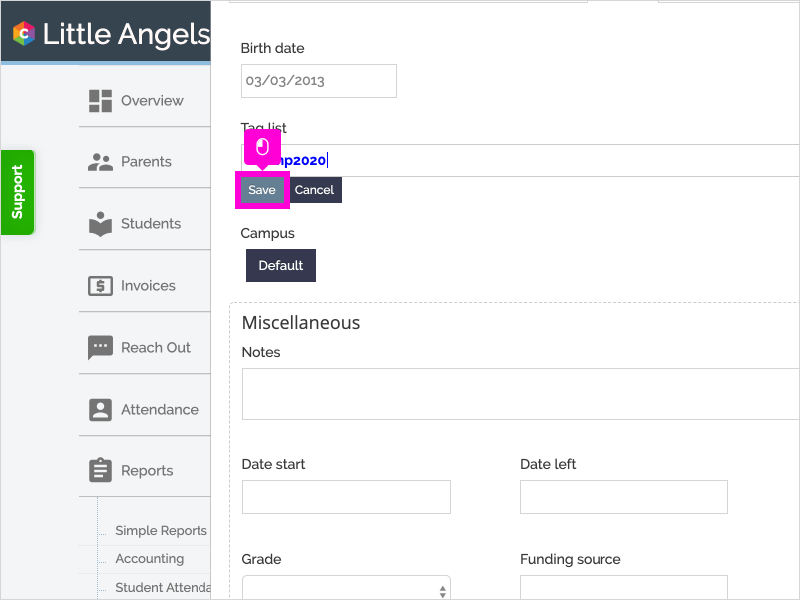
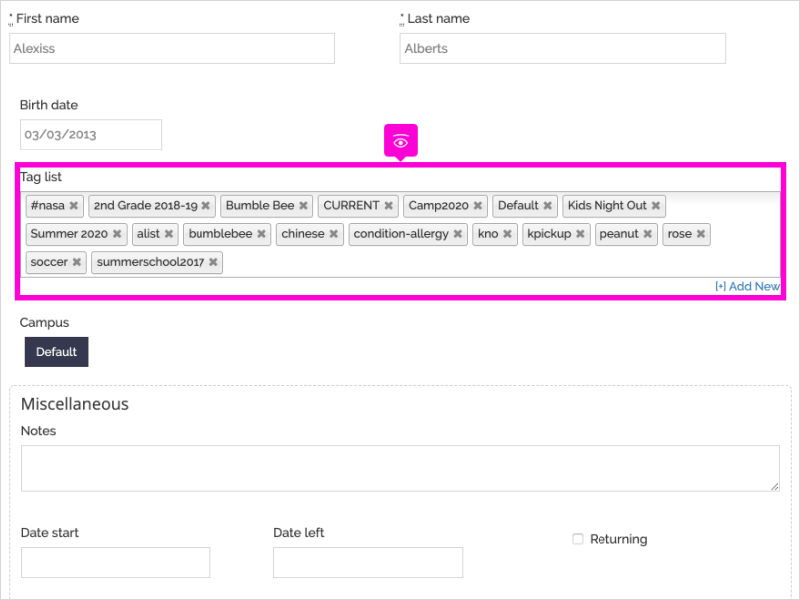
- Under the "Tag List" field, click the "[+] Add New" button
- Enter your new tag in the text box
- Click Save
You can also follow the same steps to add a tag to a parent.
Step-by-Step
1. The first step is to open Curacubby and click Students
2. Search for the student's name
3. Click the Student's Name

4. Click Profile

5. Click Edit Student
6. Find the tag list section and click [+] Add New
7. Enter the new tag
8. Click Save
9. Confirm the new tag
10. Scroll down and click Save
11. That's it. You're done.
Here's an interactive tutorial
https://www.iorad.com/player/1657442/How-to-Add-a-New-Tag-to-a-Student
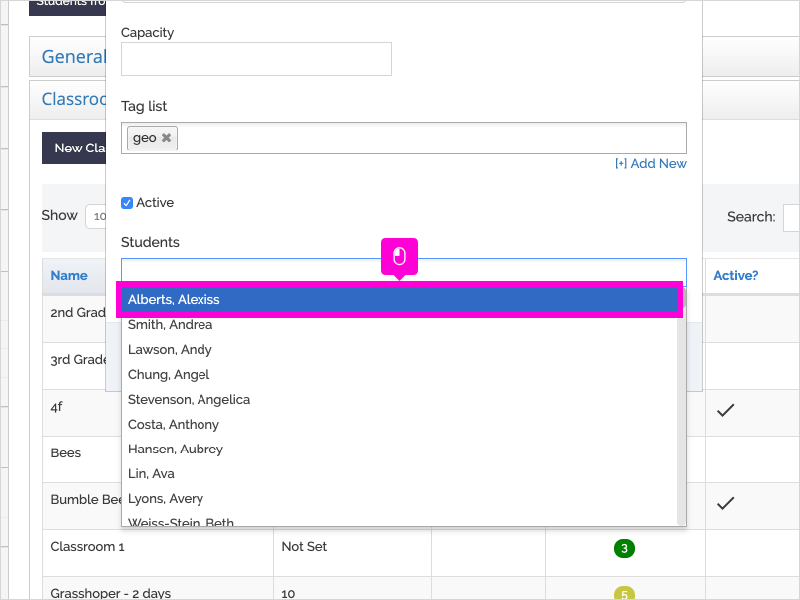
Step-by-Step
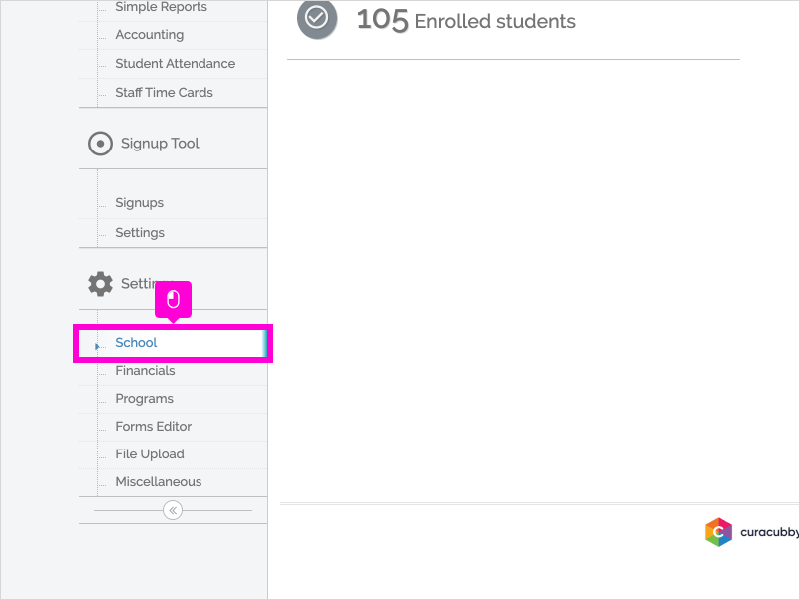
1. The first step is to open Curacubby, scroll down and click School
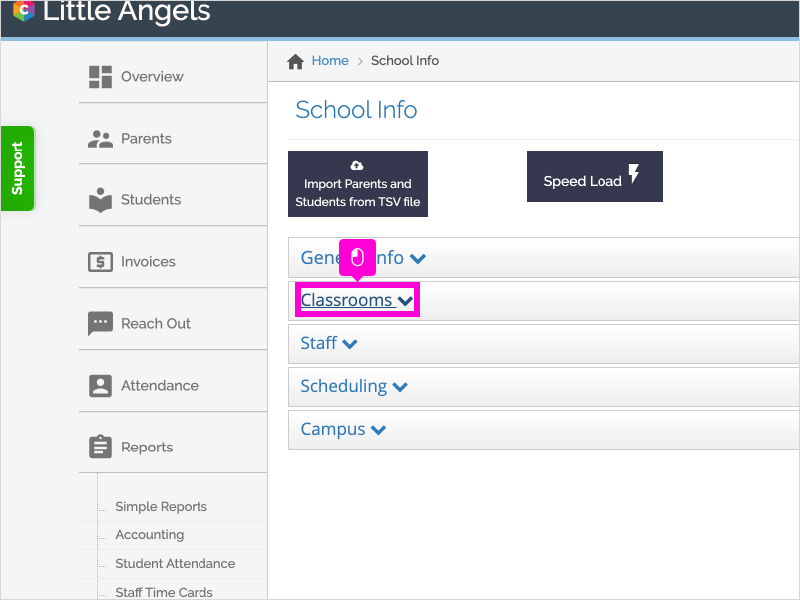
2. Click Classrooms to expand the Classrooms tab
3. Click New Classroom

4. Enter a Classroom Name (the classroom name will be applied as a tag to all students in the classroom)
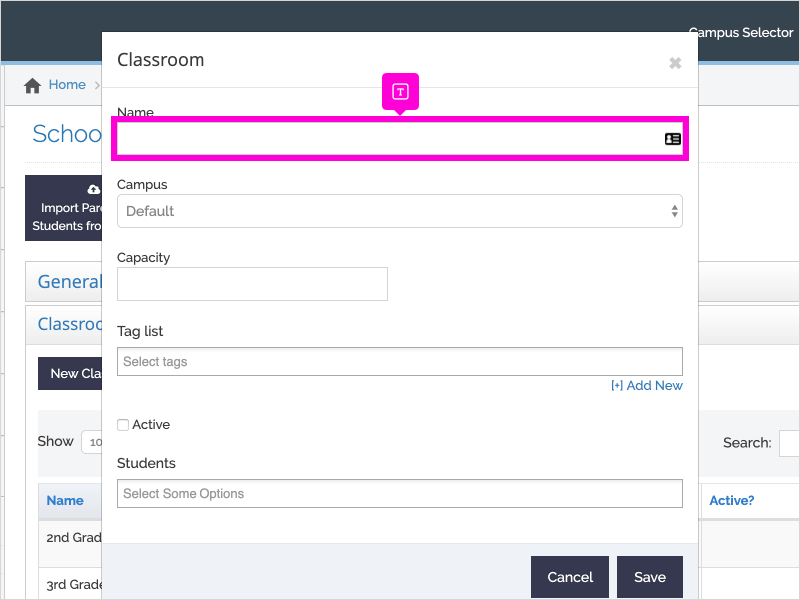
5. [Optional] Set a capacity limit for the classroom

6. Search for or select from the drop-down any other tags you wish to add to this classroom
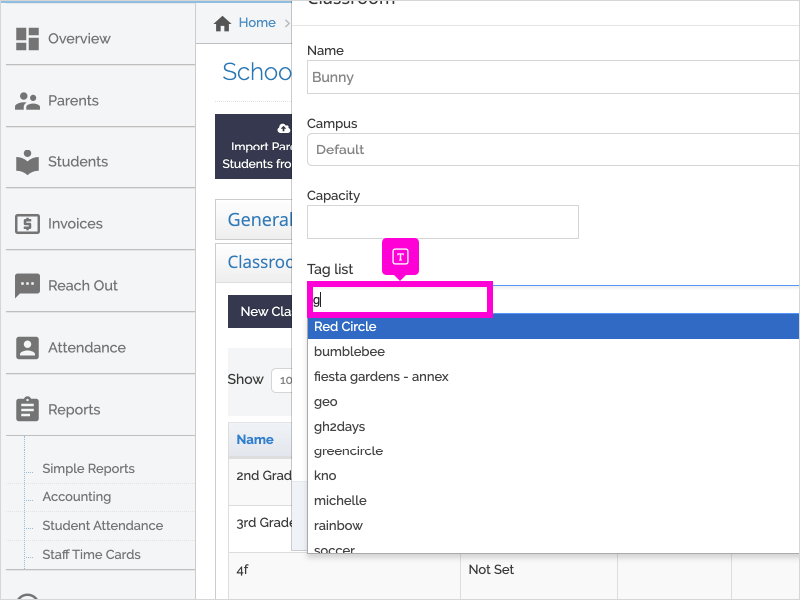
7. Click on the Tag Name
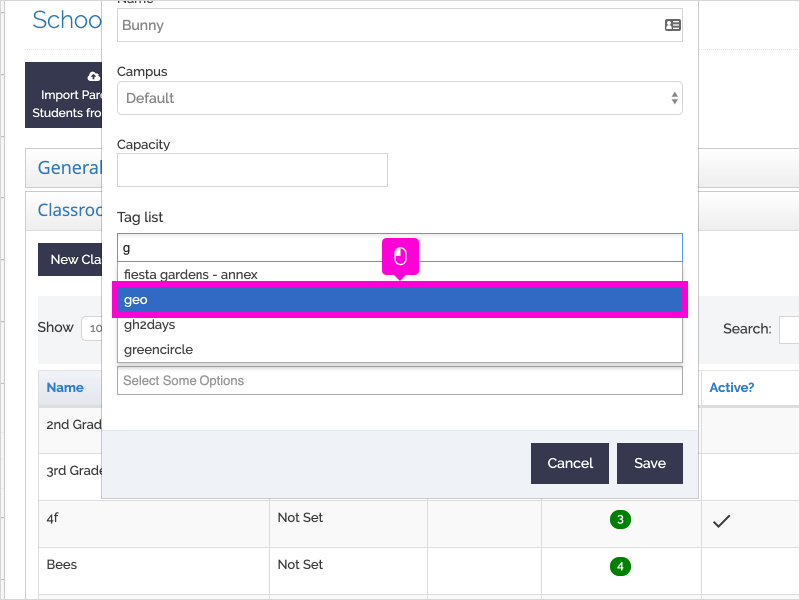
8. Click the Active checkbox
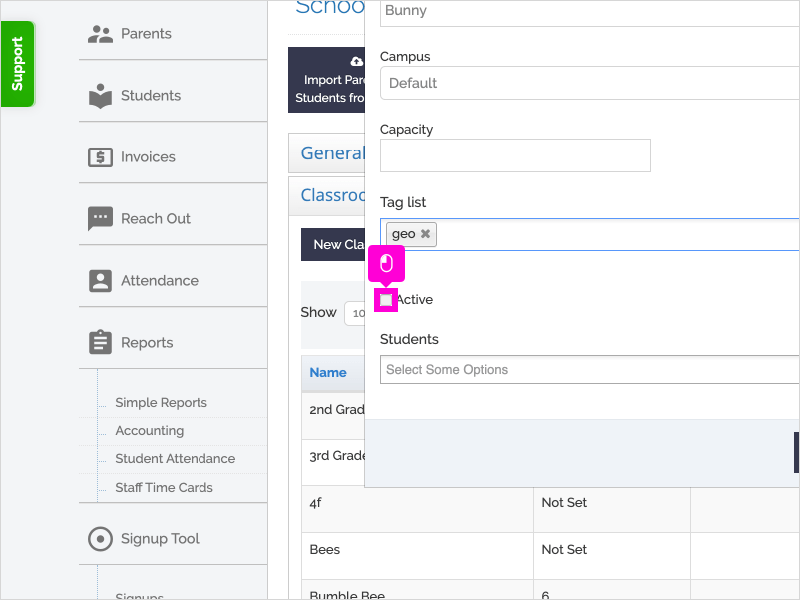
9. Search for or select from the drop down list the students you wish to add to the classroom
10. Click Save
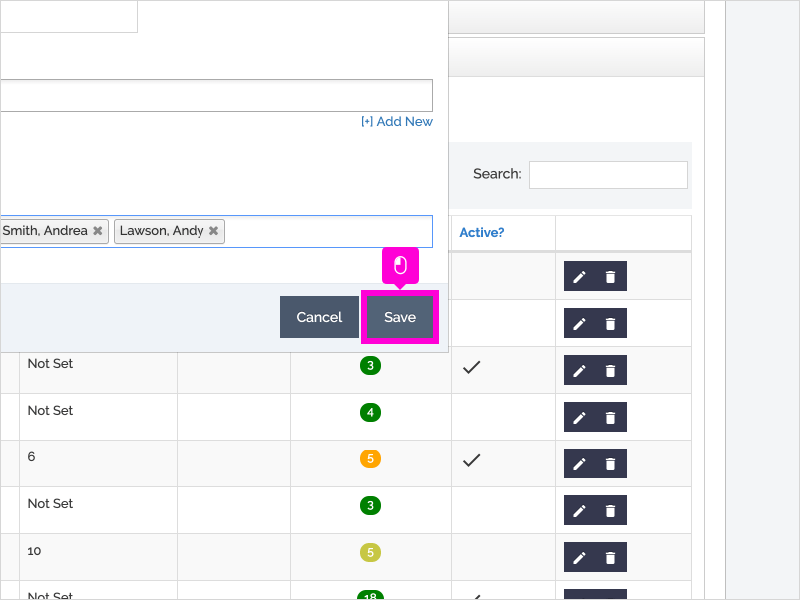
11. That's it. You're done.
Here's an interactive tutorial
https://www.iorad.com/player/1657454/Add-a-Tag-to-Multiple-Students-by-Creating-a-Classroom
Remove a tag:
- Click the "Students" or "Parents" tab
- Find the desired student/parent and click their name
- Click the "profile" tab
- Click "Edit Student" or "Edit Parent"
- Find the "Tag list" section
- Locate the tag(s) you wish to remove
- Click the "x" located on the right of the named tag
- Click Save
Step-by-Step
1. The first step is to open Curacubby and click Students

2. Search for the student's name
3. Click on the Student's Name
4. Click Profile

5. Click Edit Student
6. Find the tag list section.
To delete a tag click on the "x" located on the right of the named tag. You can remove multiple tags at the same time.
7. Confirm that the tags are removed
8. Scroll down and click Save
9. That's it. You're done.
Here's an interactive tutorial
https://www.iorad.com/player/1657451/How-to-Remove-a-Tag
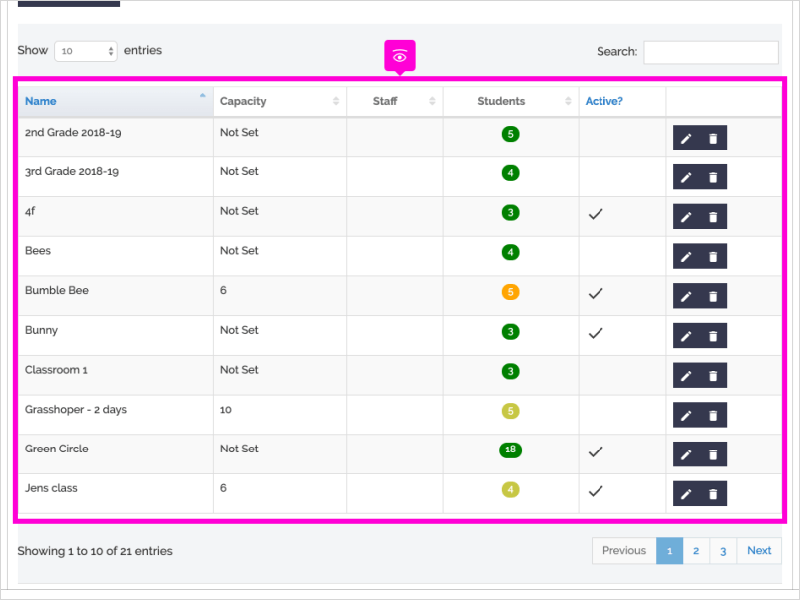
You can add a tag to multiple students by creating a classroom. You can view the article here on how to create a classroom.
