
How do I record a student compliance check and view check history?
School administrators or staff can submit a check for an individual student in the student's profile, as well as view all historical checks. Please note that parents can also view all recorded checks, even if they cannot record checks for that check group.
*Compliance Check is a premium feature. Please contact support@curacubby.com if you are interested in adding this feature to your subscription.
To submit a check from a student’s profile:
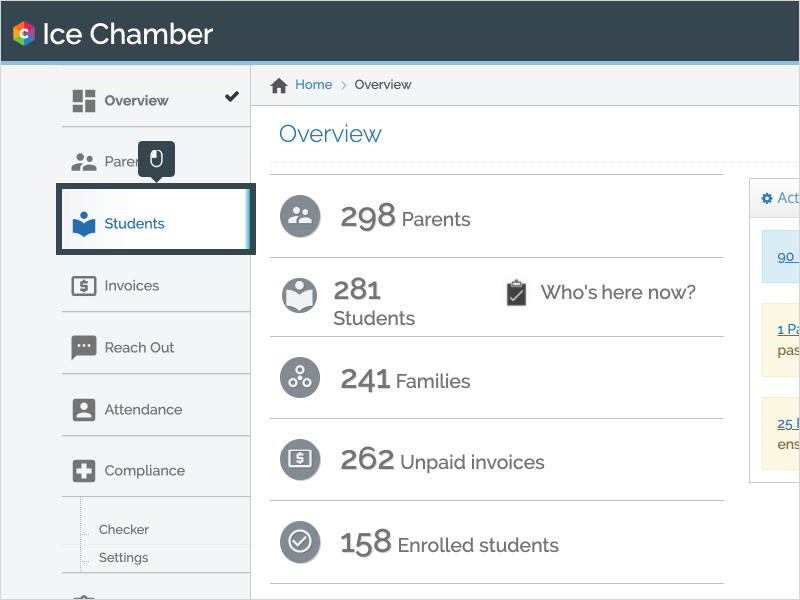
- Click “Students” on the left side bar, then click on a student’s name.
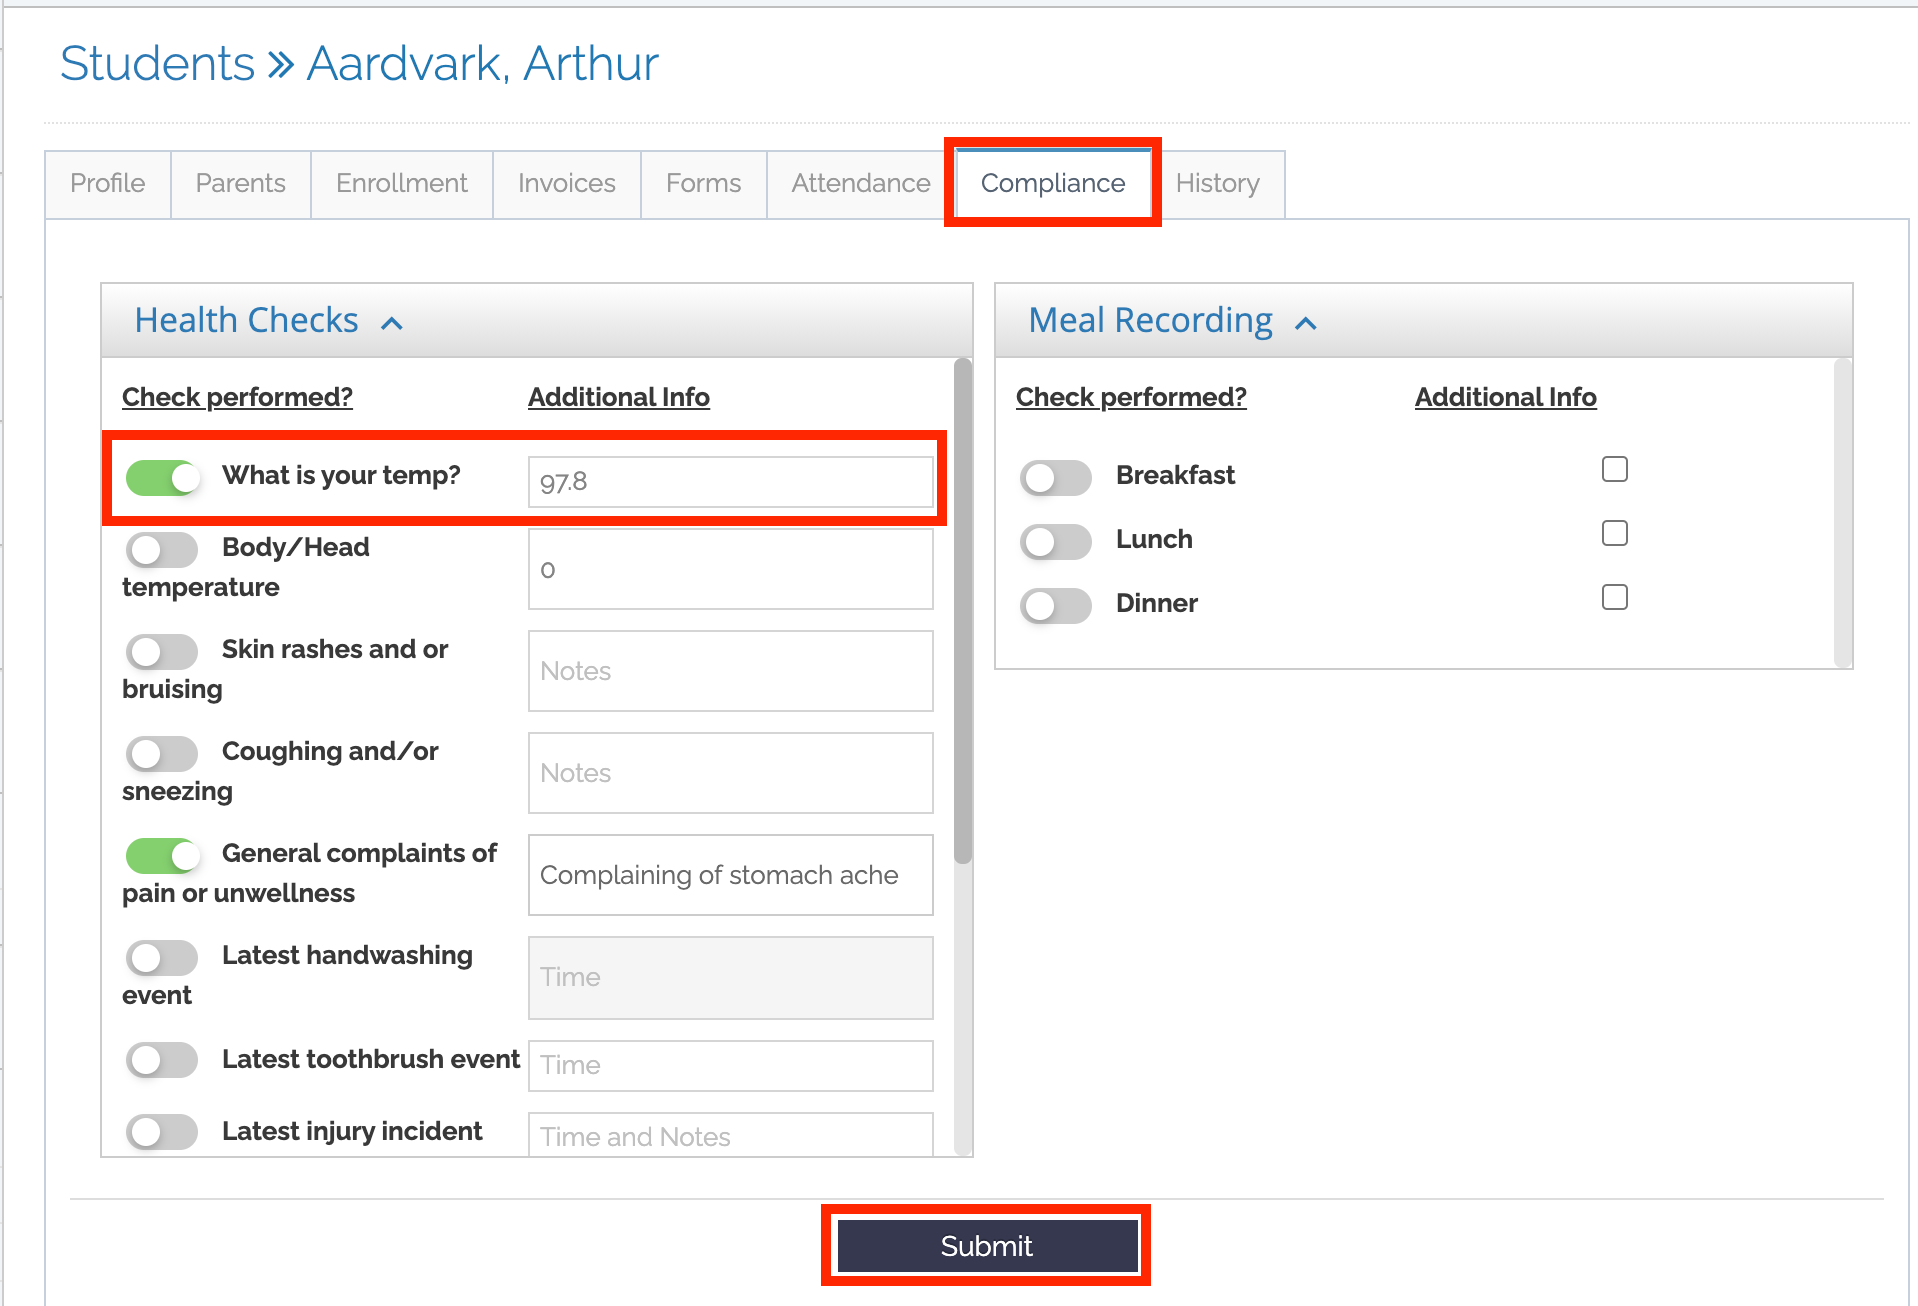
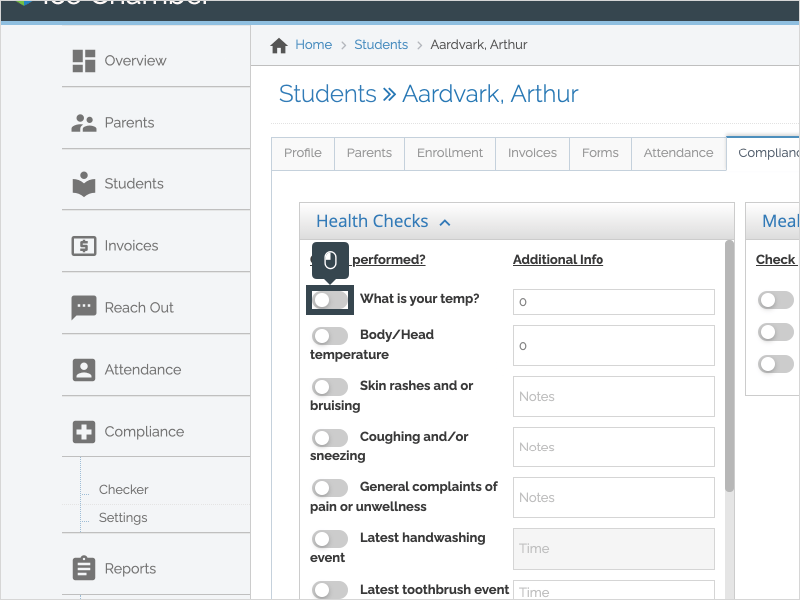
- Click the “Compliance” tab.
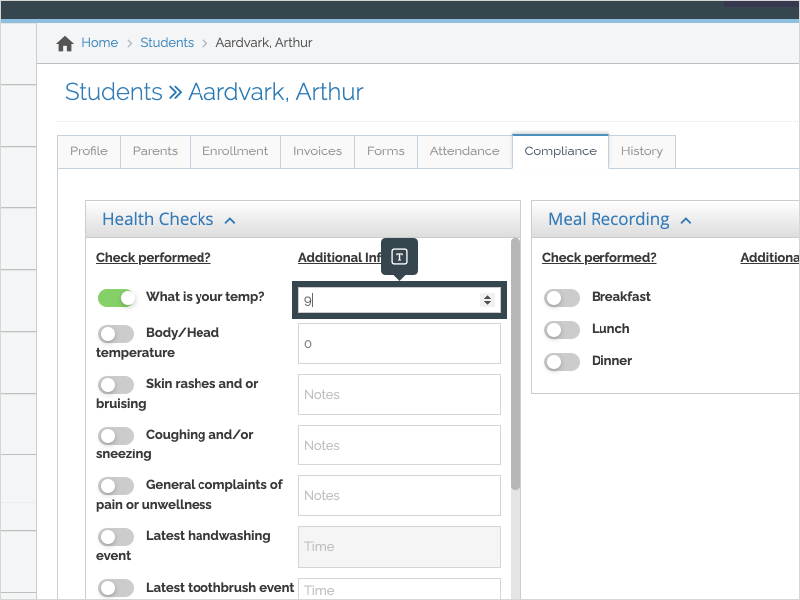
- Slide a toggle ON to indicate that you preformed that check. You can select multiple checks within a check group.
- Enter details in the Additional Info section, if applicable. For example, for a temperature check, you may enter the student or staff member’s temperature.
- For a “Text” check, you can enter any text, such as notes or details about an incident.
- For a “Number” check, you can enter a number.
- For a “Yes/No” check (checkbox), to indicate “Yes,” click the checkbox. To indicate “No,” slide the toggle to ON but leave the checkbox unchecked.
- For a “Date & Time” check, use the calendar selector to select a date and time.
- Scroll down and click “Submit” to submit.
To view all checks recorded for a student:
- Click “Students” on the left side bar, then click on a student’s name.
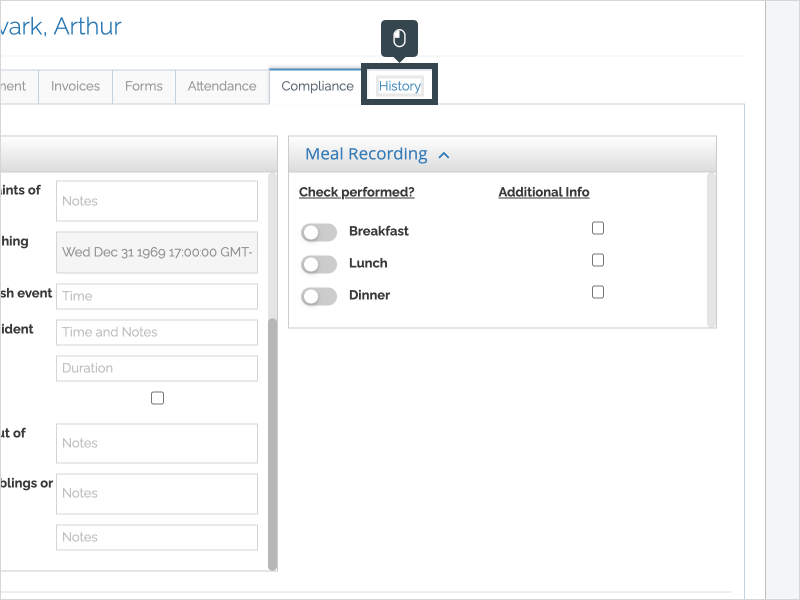
- Click the “History” tab.
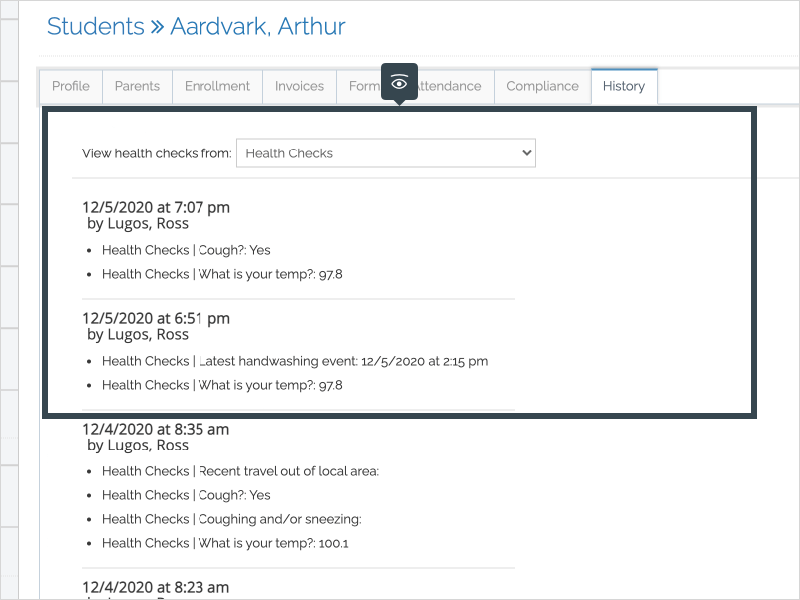
- You can see all checks, with the check group, date and time the check was recorded, and who recorded the check.
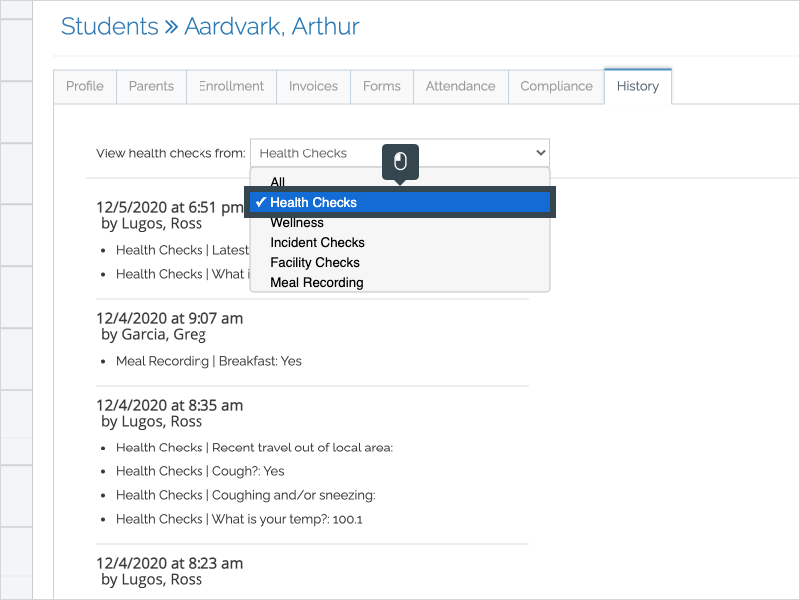
- To filter by check group, use the drop down to select a specific check group.
Step-by-Step
1. The first step is to open Curacubby and click Students.
2. Click a Student's Name.

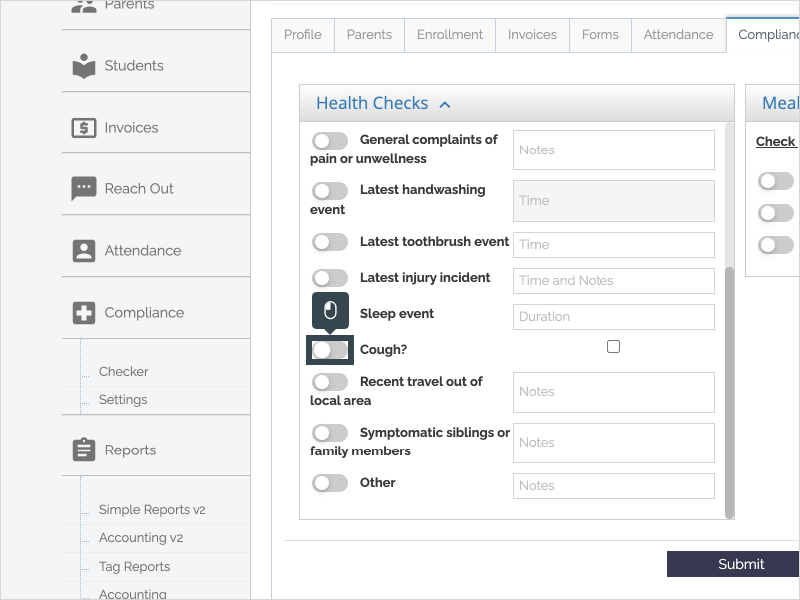
3. Click the Compliance tab.

4. Slide a toggle ON to indicate that you preformed that check.
5. Enter details in the Additional Info section, if applicable.
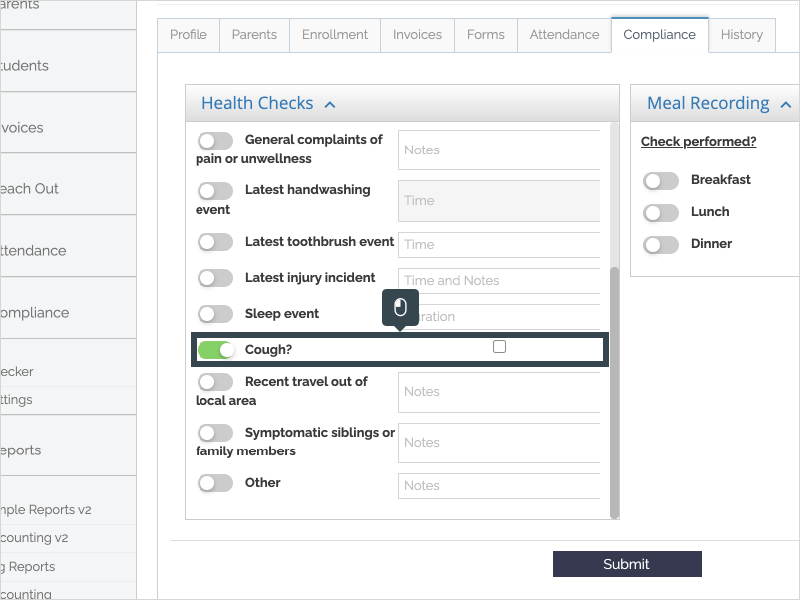
6. You can select multiple checks.
7. A "Yes/No" check will have a checkbox. Toggle the check to ON, but leave the checkbox unchecked to indicate "No." Click the Checkbox to indicate "Yes." Leave the toggle Off to indicate that this check was not performed.
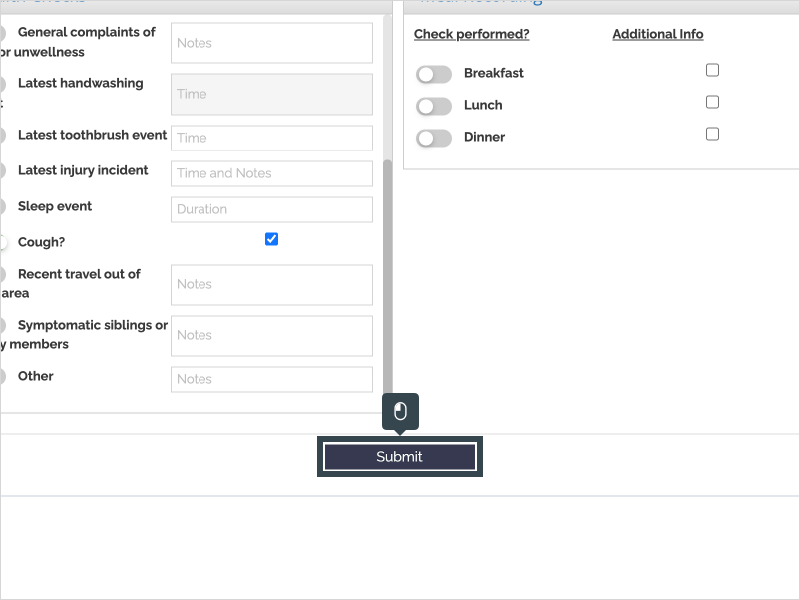
8. Scroll down and click Submit to submit the check.
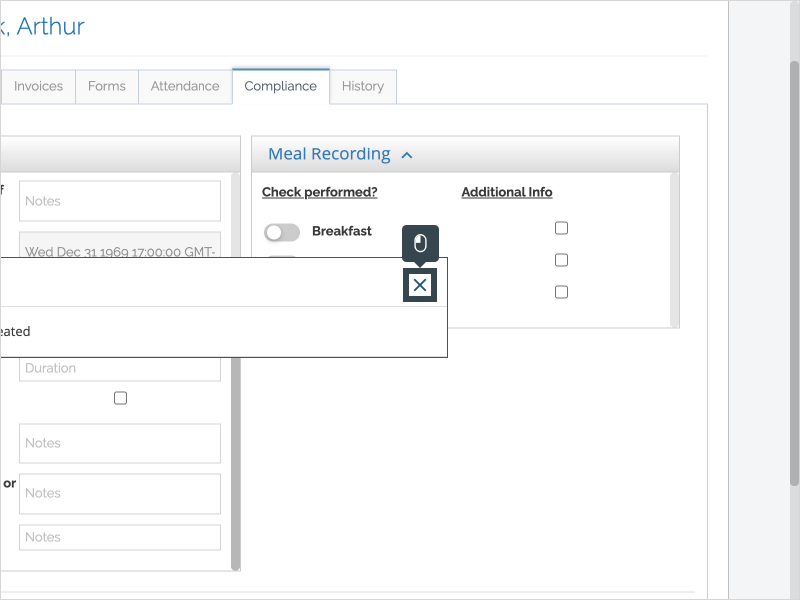
9. You've successfully submitted the check.
10. To view all recorded checks, including the check group, check, date and time the check was recorded and who recorded the check, click the History tab.
11. You can view all checks or select to view checks from a specific Check Group.
12. That's it. You're done.
Here's an interactive tutorial
https://www.iorad.com/player/1749354/Record-Individual-Student-Check
