
How does a staff member record a check for themselves?
Staff with log in permissions can record a compliance check for themselves on in their profile. Staff must have login permissions to be able to record a check.
*Compliance Check is a premium feature. Please contact support@curacubby.com if you are interested in adding this feature to your subscription.
To record a staff self compliance check:
- Log in to your Curacubby portal and click “Welcome, [your name]” in the top right corner of your screen.
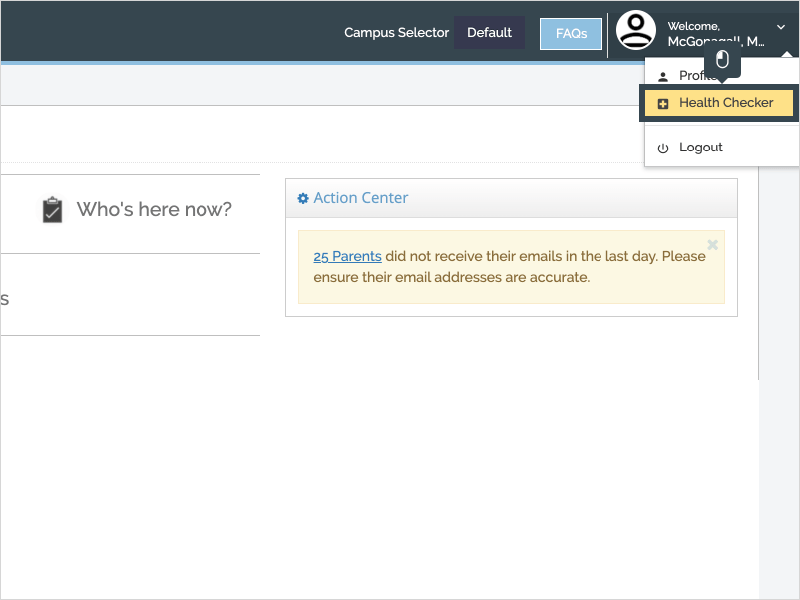
- Click “Health Checker.”
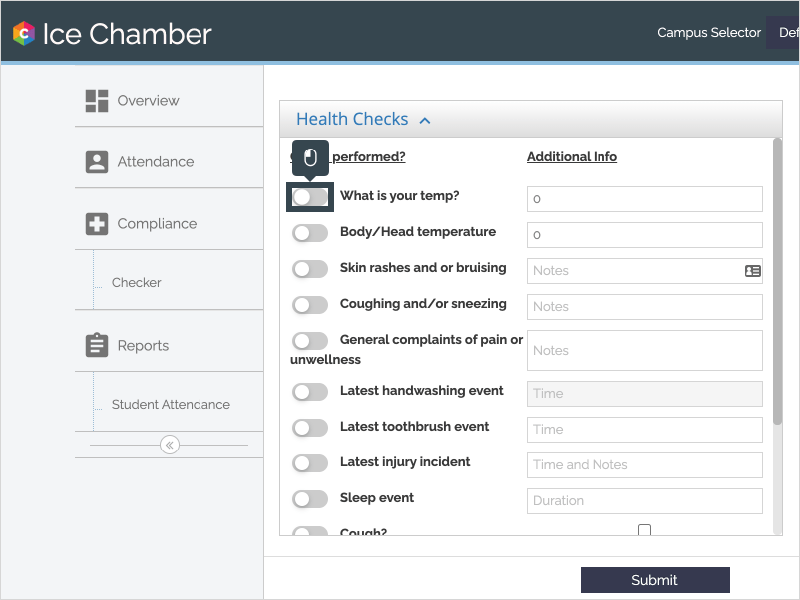
- Slide a toggle ON to indicate that you performed that check. You can select multiple checks if applicable.
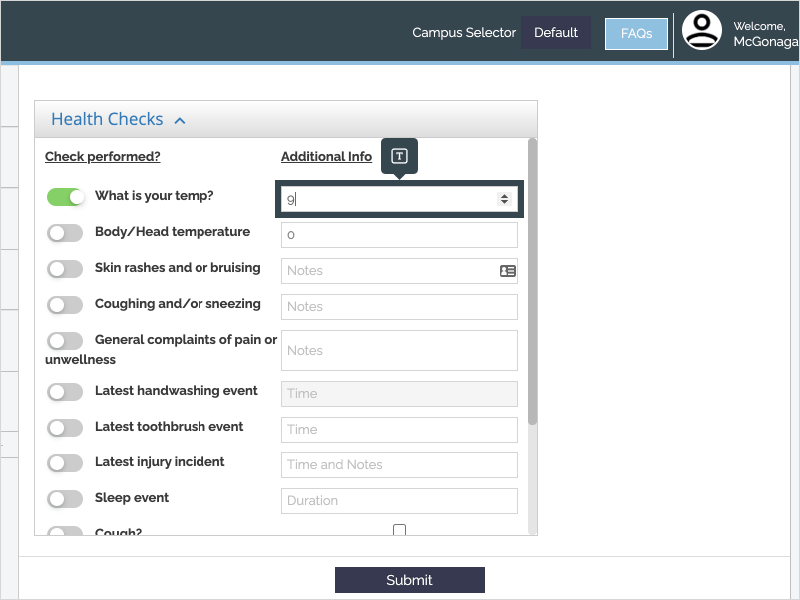
- Enter details in the Additional Info section, if applicable. For example, for a temperature check, you may enter your student’s temperature.
- For a “Text” check, you can enter any text, such as notes or details about an incident.
- For a “Number” check, you can enter a number.
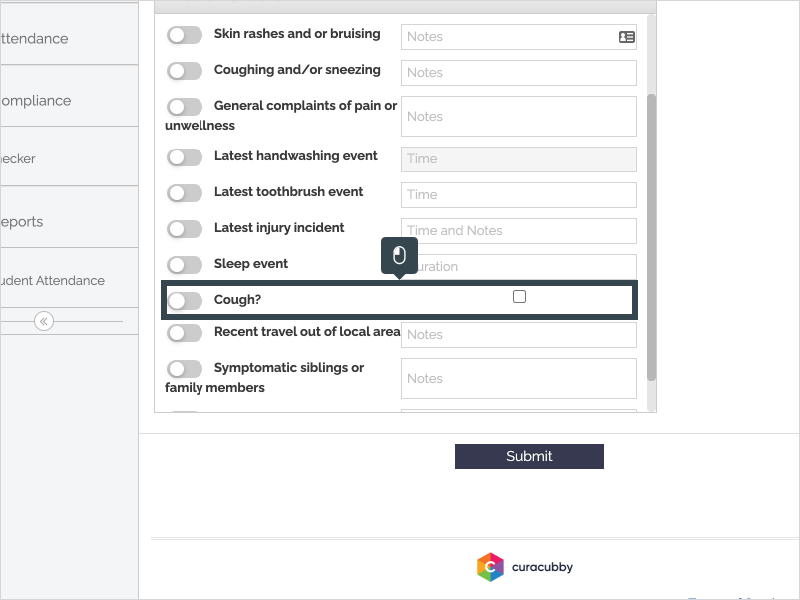
- For a “Yes/No” check (checkbox), to indicate “Yes,” click the checkbox. To indicate “No,” slide the toggle to ON but leave the checkbox unchecked.
- For a “Date & Time” check, use the calendar selector to select a date and time.
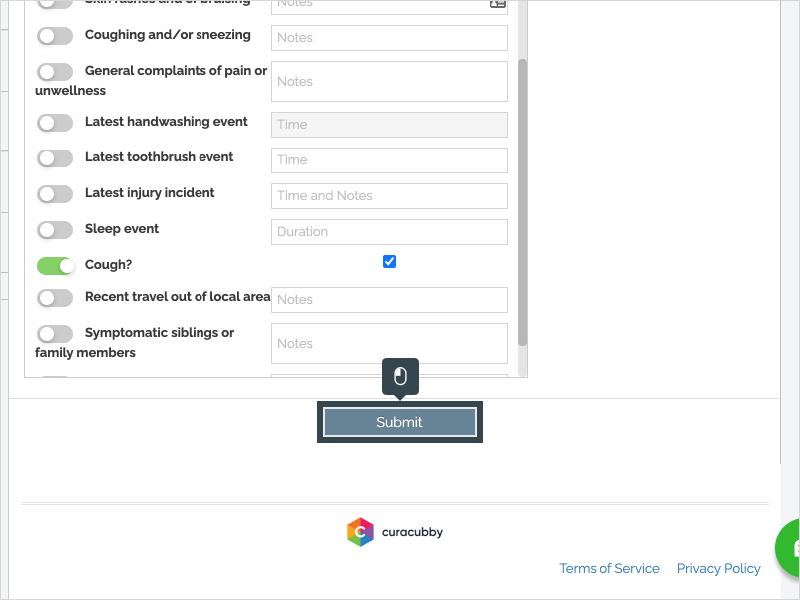
- Click “Submit” to submit.
To view previously recorded checks:
- Log in to your Curacubby portal and click “Welcome, [your name]” in the top right corner of your screen.
- Click “Profile.”
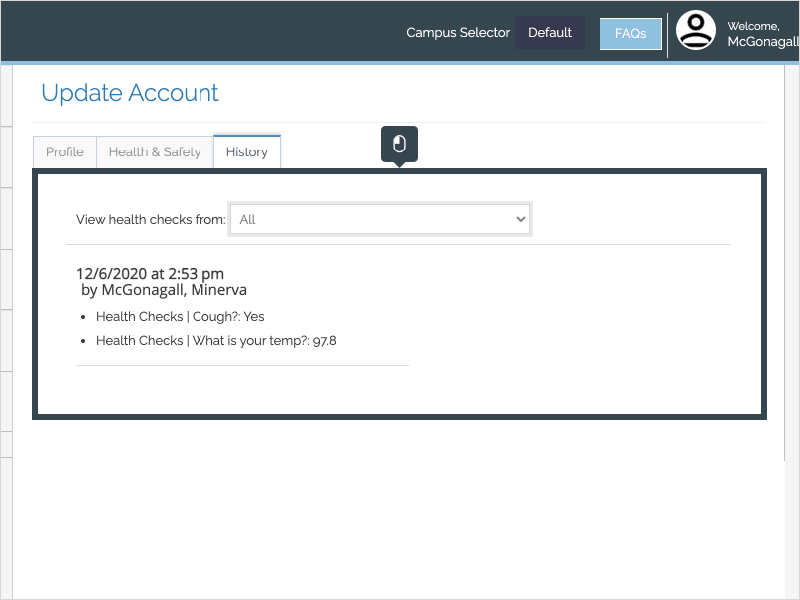
- Click the “History” tab.
- You can see all checks, with the check group, the date and time the check was recorded, and who recorded the check.
- To filter by check group, use the drop down to select a specific check group.
Step-by-Step
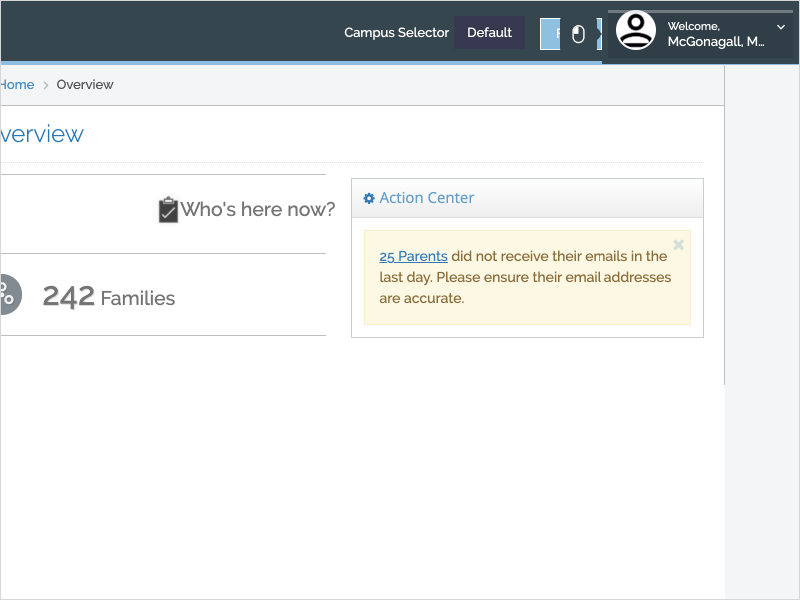
1. The first step is to open Curacubby and click Welcome, [your name].
2. Click Health Checker
3. Slide a toggle ON to indicate that you performed that check. You can select all applicable checks.
4. Enter details in the Additional Info section, if applicable. For example, for a temperature check, you may enter your temperature.
5. A "Yes/No" check will have a checkbox. Toggle the check to ON, but leave the checkbox unchecked to indicate "No." Click the Checkbox to indicate "Yes." Leave the toggle Off to indicate that this check was not performed.
6. Click Submit to submit the check.
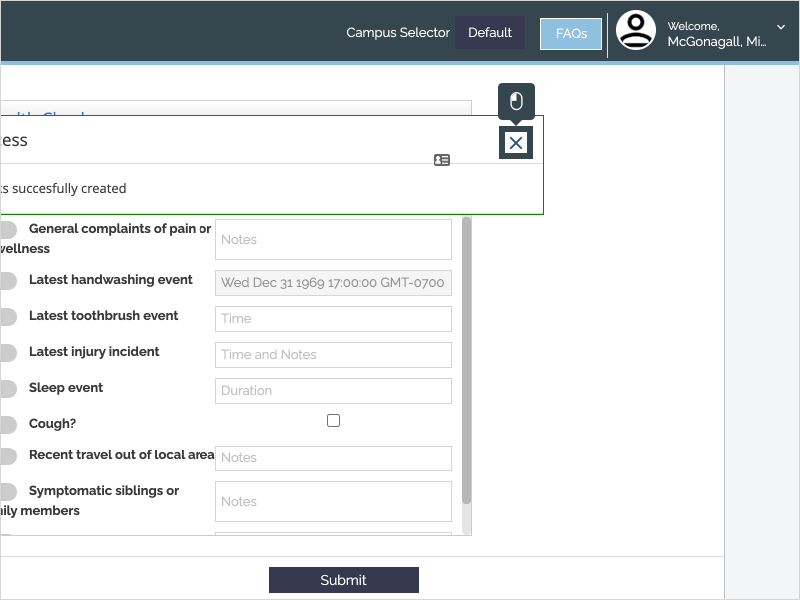
7. You have successfully recorded the check.
8. To view previously recorded checks, click Welcome, [your name].

9. Then click Profile.

10. Click the History tab.
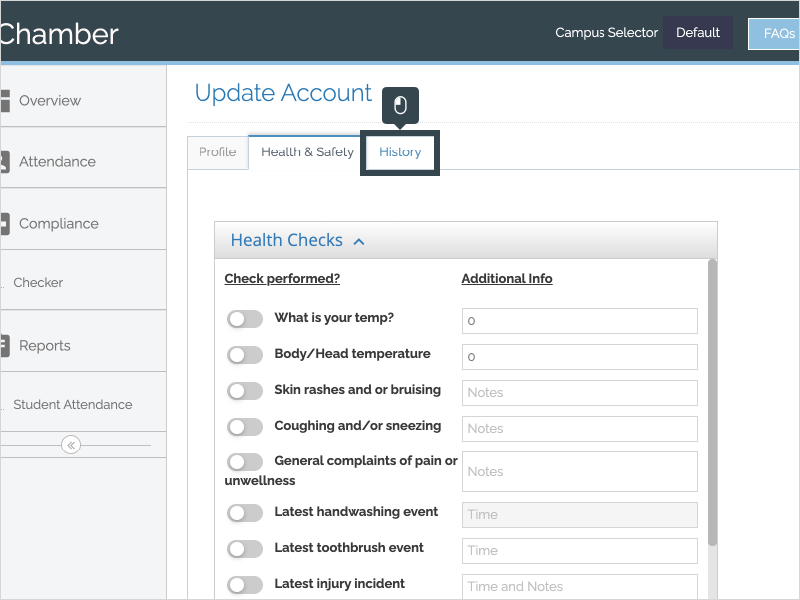
11. You will see all recorded checks with the check group, check, when the check was recorded, and who recorded the check.
That's it. You're done.
Here's an interactive tutorial
https://www.iorad.com/player/1749455/Staff-Records-Self-Check
