Detailed Billing Report 2.5

Shows all billed items by accounting category within a specified date range.

Using Detailed Billing Report 2.5 within Curacubby, you are able to see all billed items within a specified date range as well as compare a month's beginning and ending balance.

To generate an Detailed Billing 2.5 Accounting Report:

Click Accounting under the Reports Tab

  1. Select the Accounting Report to generate

  2. Fill Additional fields (if applicable) 

  3. Click Create Report

    1. Optional: Modify Report Name

    Here is an example of a generated Detailed Billing 2.5 Report: 

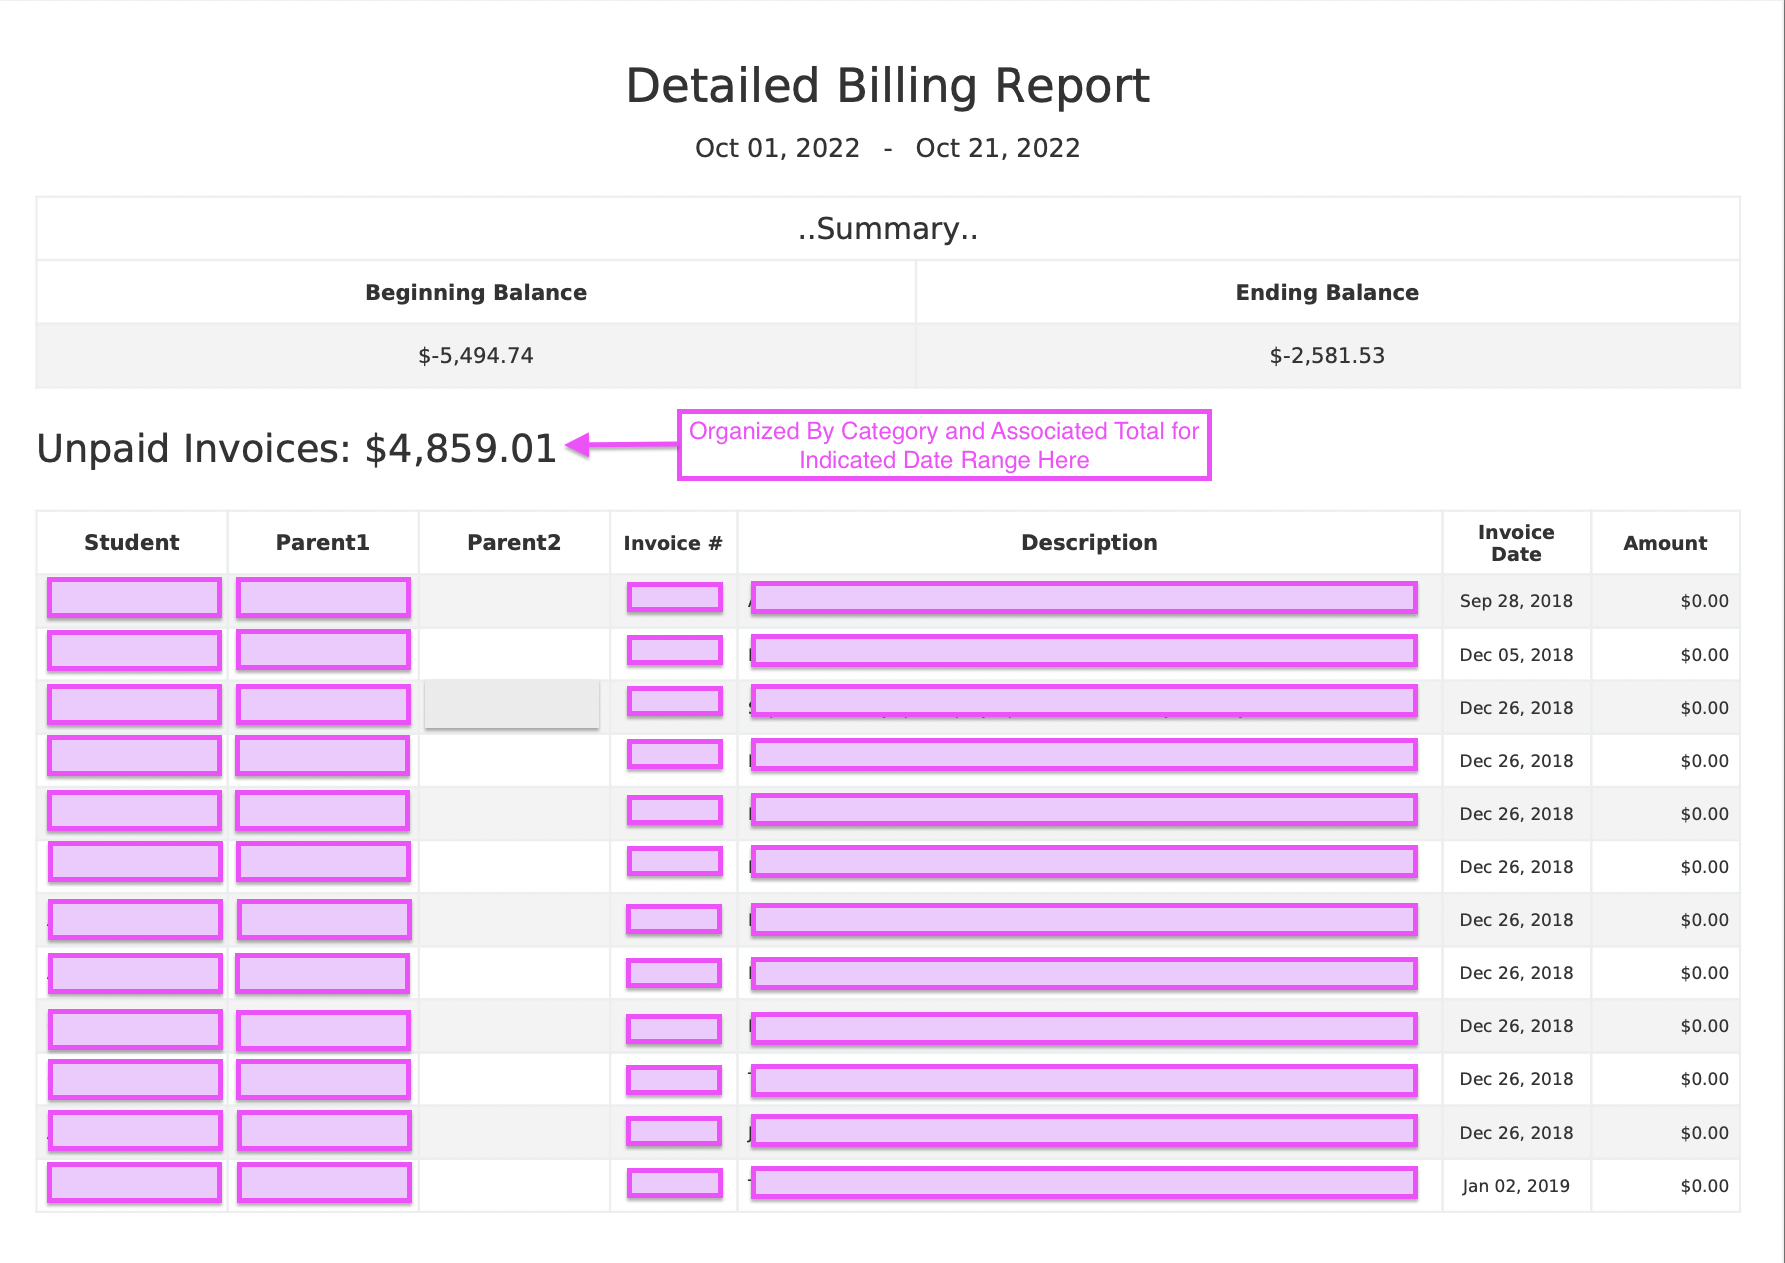
The Detailed Billing 2.5 Report is Organized by These Listed Categories:

Unpaid: all invoices that are unpaid as of the FIRST DATE parameters 
Unapplied Credits: all unapplied credits as of the FIRST DATE parameter 
Prepayments: all billable items that are due within the date range, but paid early 
Billed: all line items billed BETWEEN date range 
Paid: all paid invoices BETWEEN date range
Credits: all credits given BETWEEN date range
 

Here is a brief interactive walkthrough of generating a Detailed Billing 2.5 report:

10 STEPS

1. Locate the Reports tab on the left hand side of your Curacubby. Under the Reports tab, click "Accounting"

Step 1 image

2. Click the drop-down menu labeled "Report Type"

Step 2 image

3. Select Detailed Billing Report 2.5

Step 3 image

4. Select the Input Date Type you would like for this report:
Paid: date the payment had been processed
Transfer: date the payment has been received into your account

Step 4 image

5. Select the "start" date you would like this report to be generated for within the calendar

Step 5 image

6. Select the "end" date you would like this report to be generated for within the calendar

Step 6 image

7. Click the blue box labeled "Create Report"

You are also able to edit the report name by clicking the text box located above "Create Report" and replacing current name

Step 7 image

8. Please allow a few moments for your report to be generated within your web browser.

Step 8 image

9. Once your report is generated, you are then able to export your report by selecting the document type: PDF, DOCX, CSV, XLSX

Step 9 image

10. That's it. You're done.
This is what your Detailed Billing Report 2.5 will look if downloaded as a PDF.

Step 10 image

Here's an interactive tutorial

** Best experienced in Full Screen (click the icon in the top right corner before you begin) **

https://www.iorad.com/player/2035848/DETAILED-BILLING-2-5-REPORTS