This article will help you create ad hoc invoices for multiple or a single family
How do I create ad-hoc invoices?
You can create ad-hoc or one-time invoices for charges that are not recurring. This can be used for annual fees, such as materials fees, or any miscellaneous charges throughout the year, such as for hot lunch or field trips. Ad hoc invoices can be sent to one or multiple students.
To create an ad hoc invoice:
- Go to the Invoices page.
- Click “New Invoice”
- Select the student(s) to which to send the invoice. You can select one or multiple students.
- Click the dates under “Invoice Date - Late Date” to select the invoice date (when the invoice is due) and the late date (when the late fee is applied).
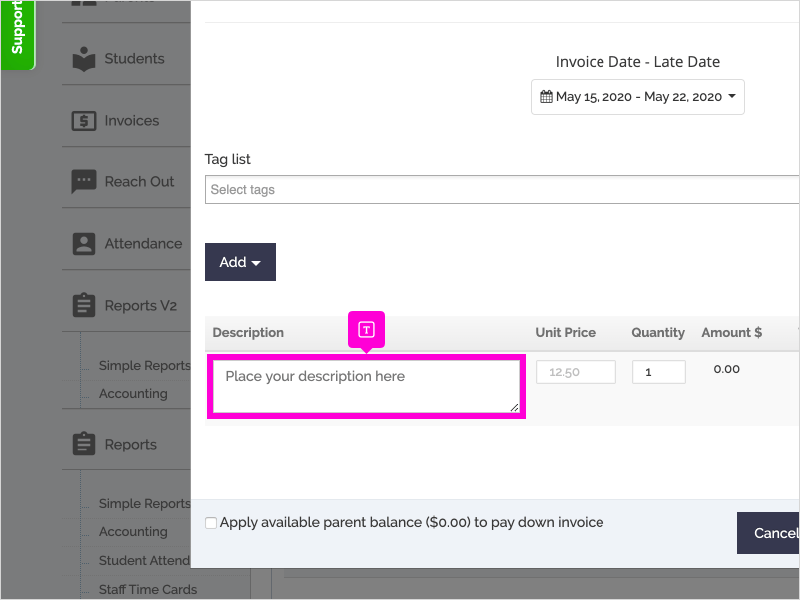
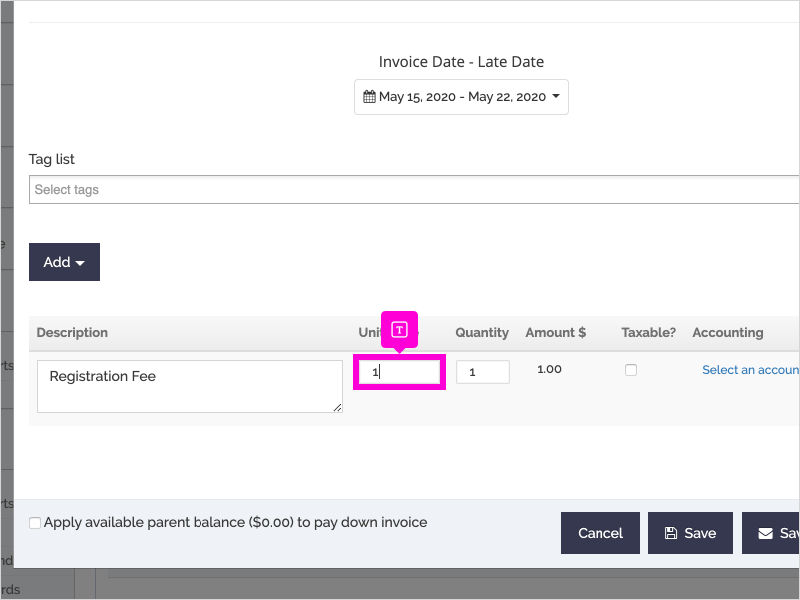
- Enter a description for the line item in the "Description" box and enter the unit price.
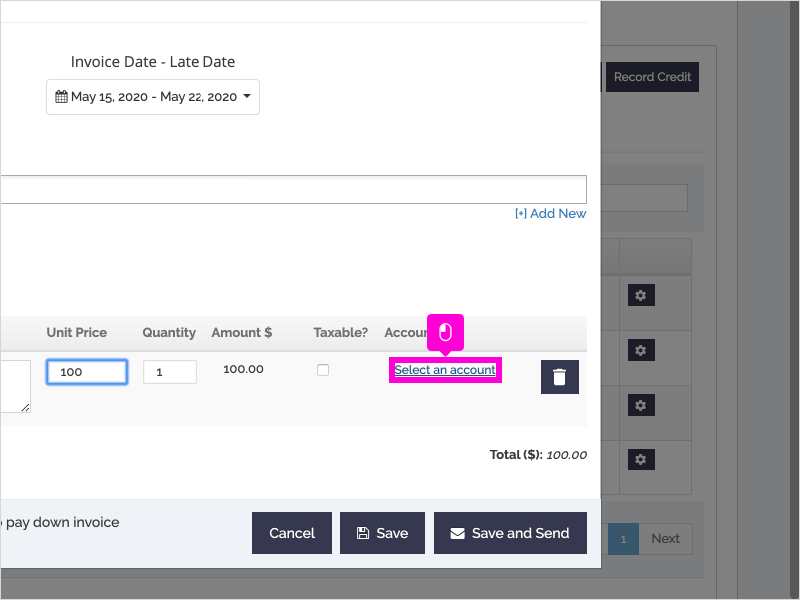
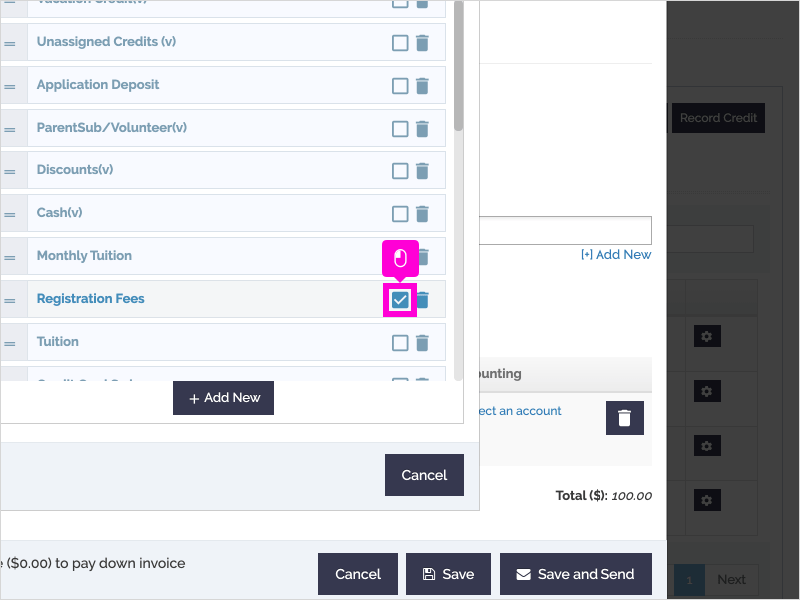
- Click "Select an account" to map the line item to a chart of accounts category (i.e "Preschool Tuition," "After School Care," etc).
- You can add additional line items to the invoice by clicking "Add" then "Simple Line Item" for a charge or "Credit Line Item" for a credit.
- Click “Save” to save the invoice as a draft (the status will be "Saved Temporarily" - parents cannot view invoices in the "Saved Temporarily" status). Click “Save and Send” to send this invoice out to the parent immediately.
Note: "Saved Temporarily" ad hoc invoices will not be sent to parents automatically. You must click "Save and Send" on a Saved Temporarily invoice to send it to the parent.
If your school has autopay, and parents are enrolled in autopay, ad hoc invoices will be auto paid on the invoice date. If you send an ad hoc invoice with an invoice date of today, the invoice will be auto-paid immediately after sending the invoice.
Here is a walkthrough of creating an ad hoc invoice through the Invoices Tab:
CREATING AD HOC INVOICES THROUGH INVOICES TAB
An alternate way to create an ad hoc invoice directly to one family:
Step-by-Step
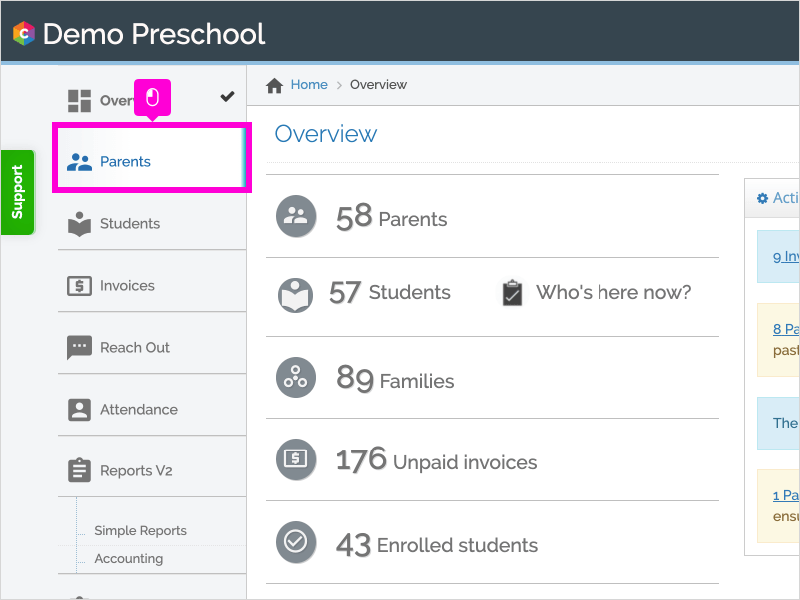
1. Click Parents
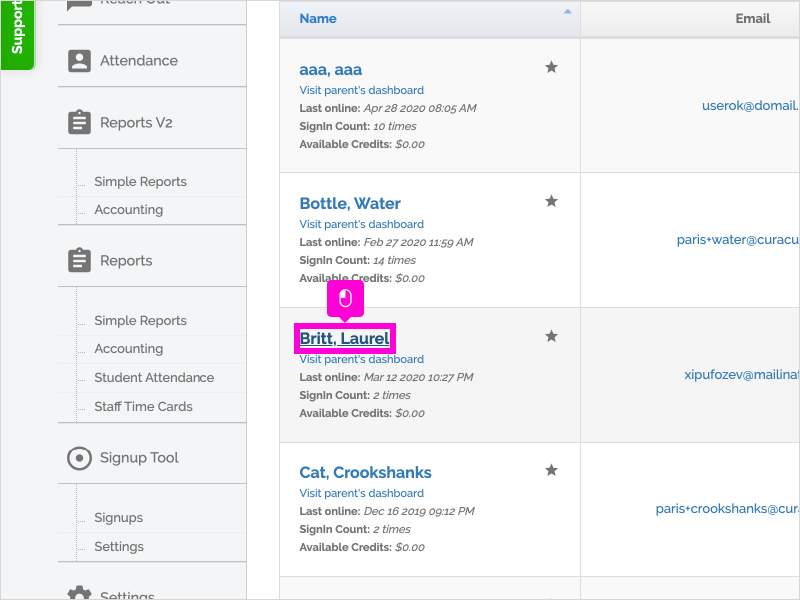
2. Click the Parent's Name
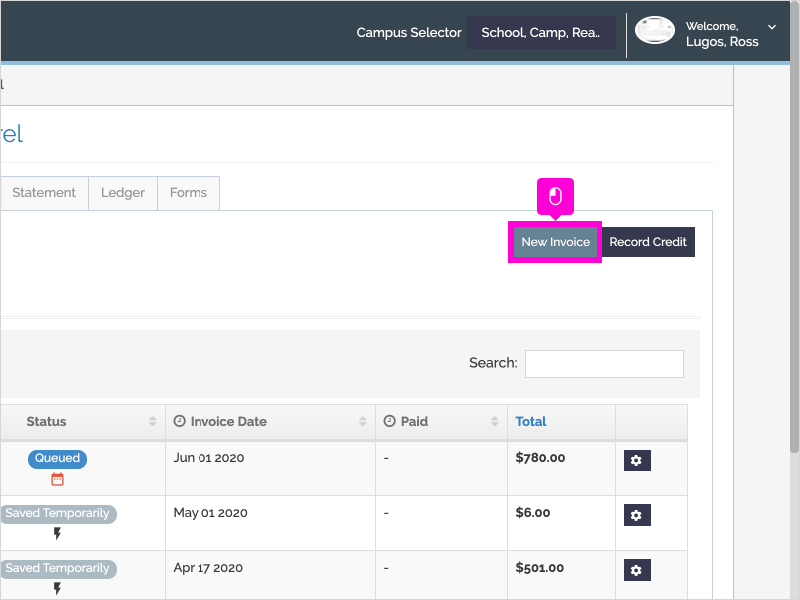
3. Click New Invoice
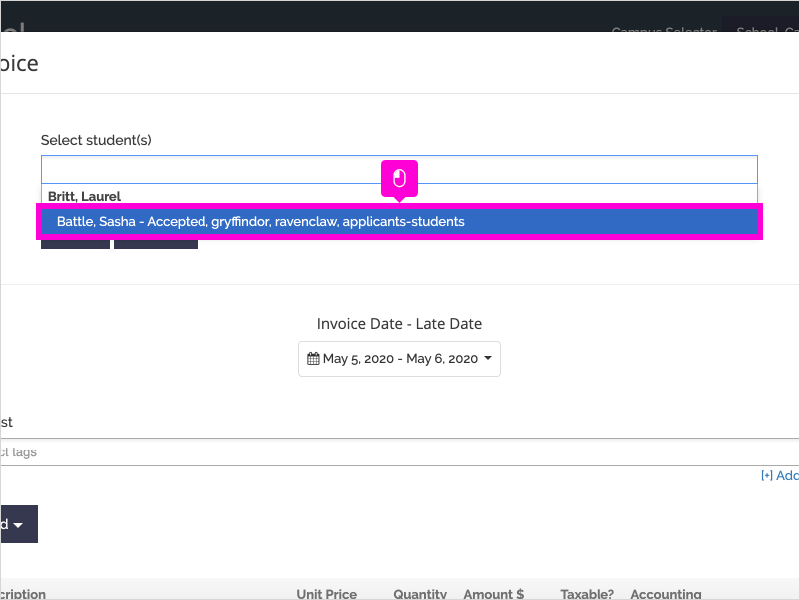
4. Click Student's Name
5. Set the Invoice Date - Late Date using the calendar selector.
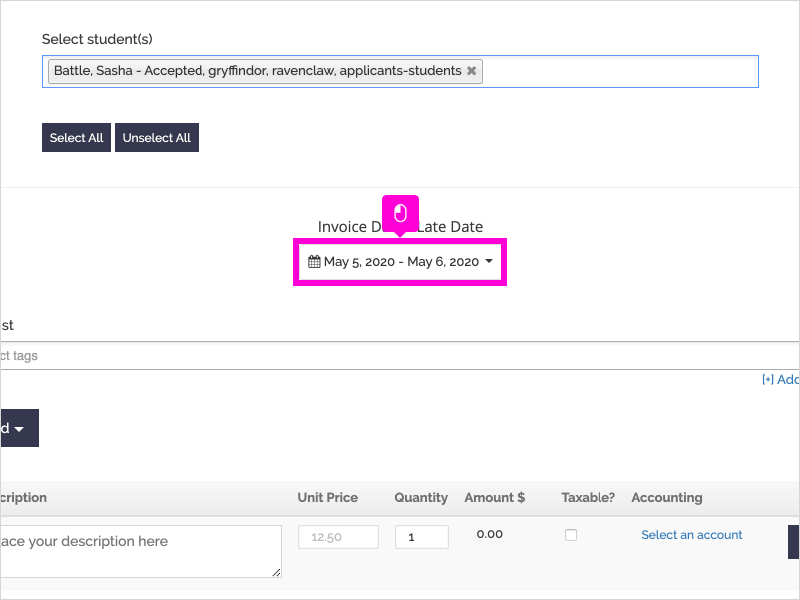
6. Select the Invoice Date
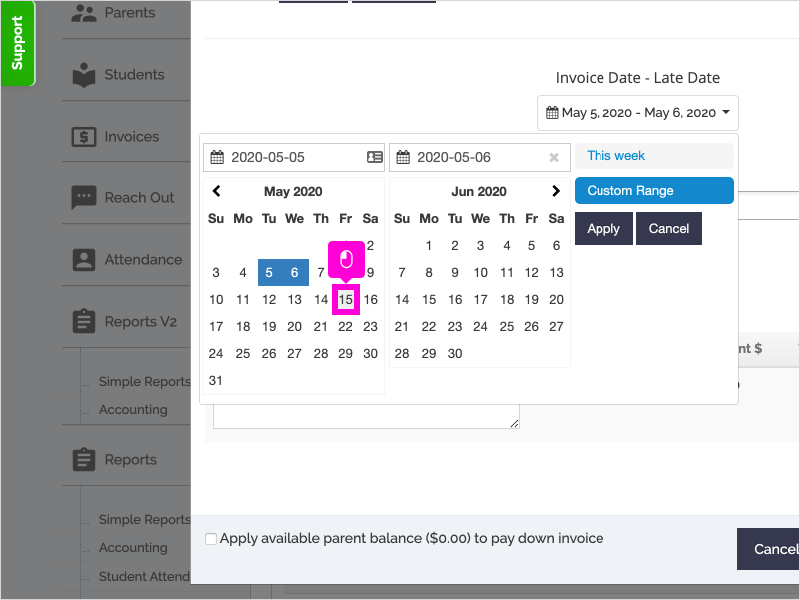
7. and select the Late Date (the date the late fee is applied)
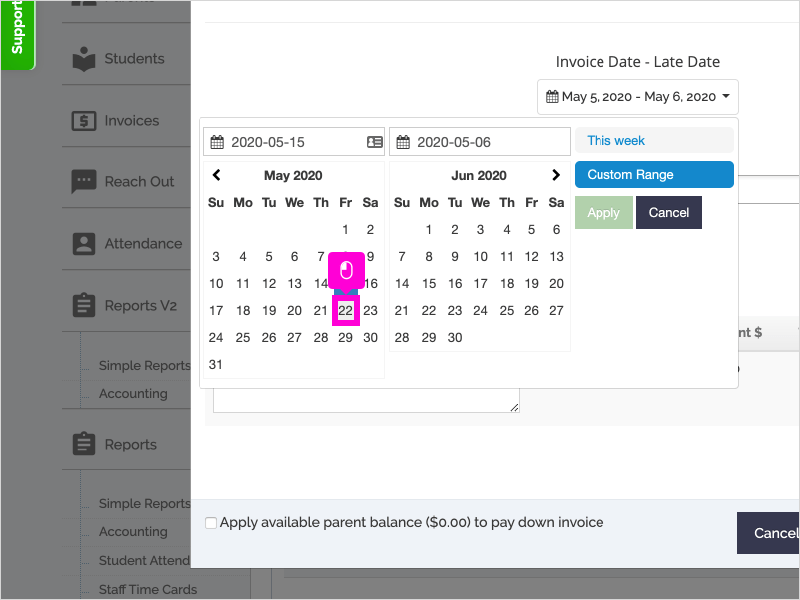
8. Click Apply
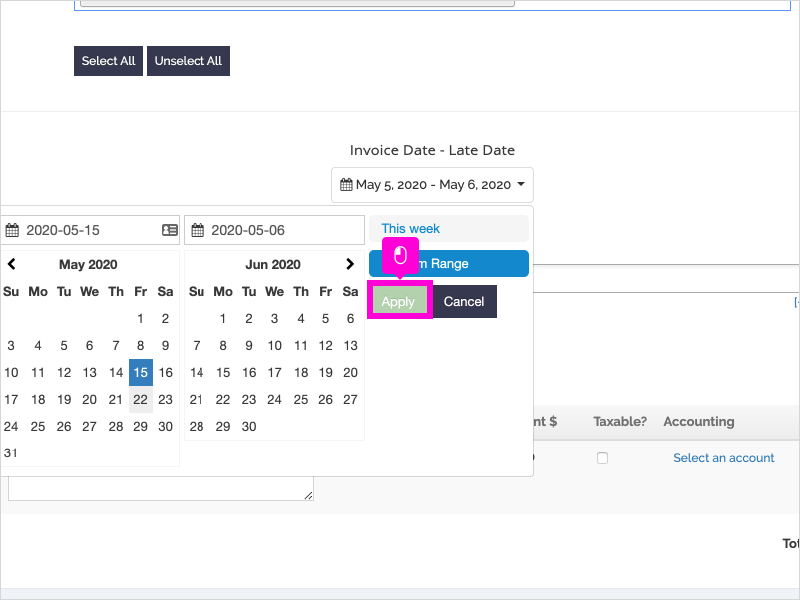
9. Enter the Line Item description
10. Enter the Unit Price
11. Click Select an account to assign the line item to an account category.
12. Click the checkbox next to the account category
13. Click Save to save a draft of the invoice or Save and Send to send the invoice immediately.
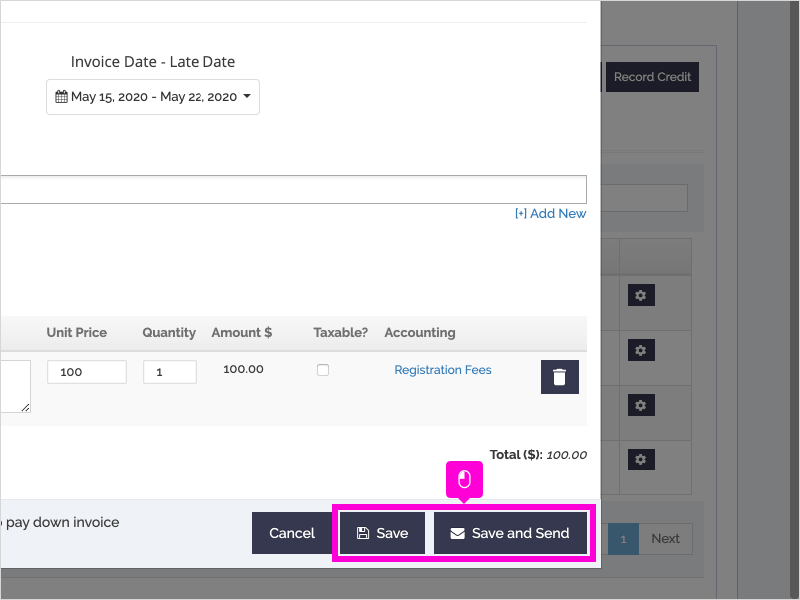
14. That's it. You're done.
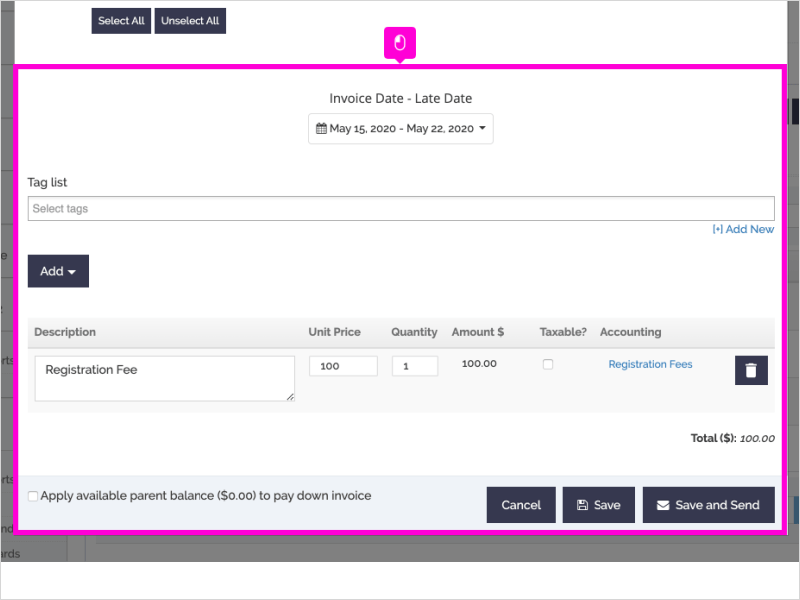
Here's an interactive tutorial
https://www.iorad.com/player/25349/Create-an-ad-hoc-invoice
